
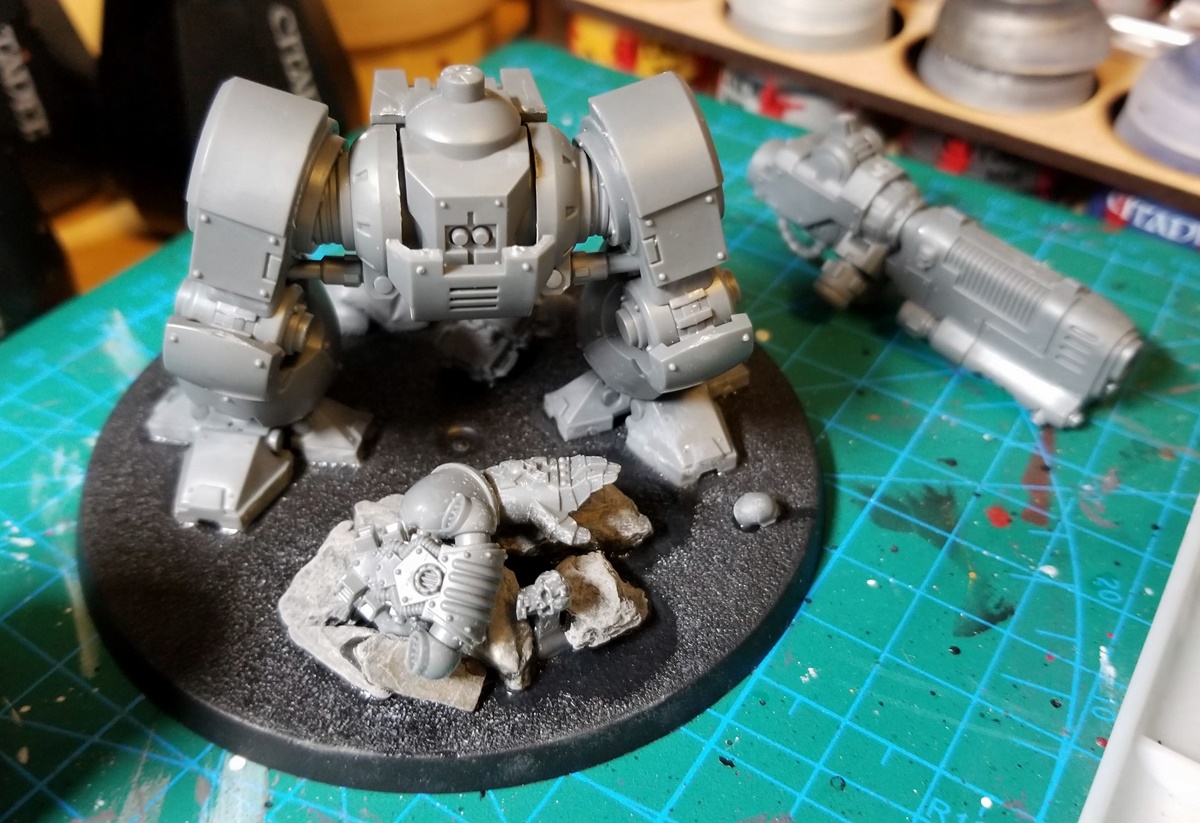
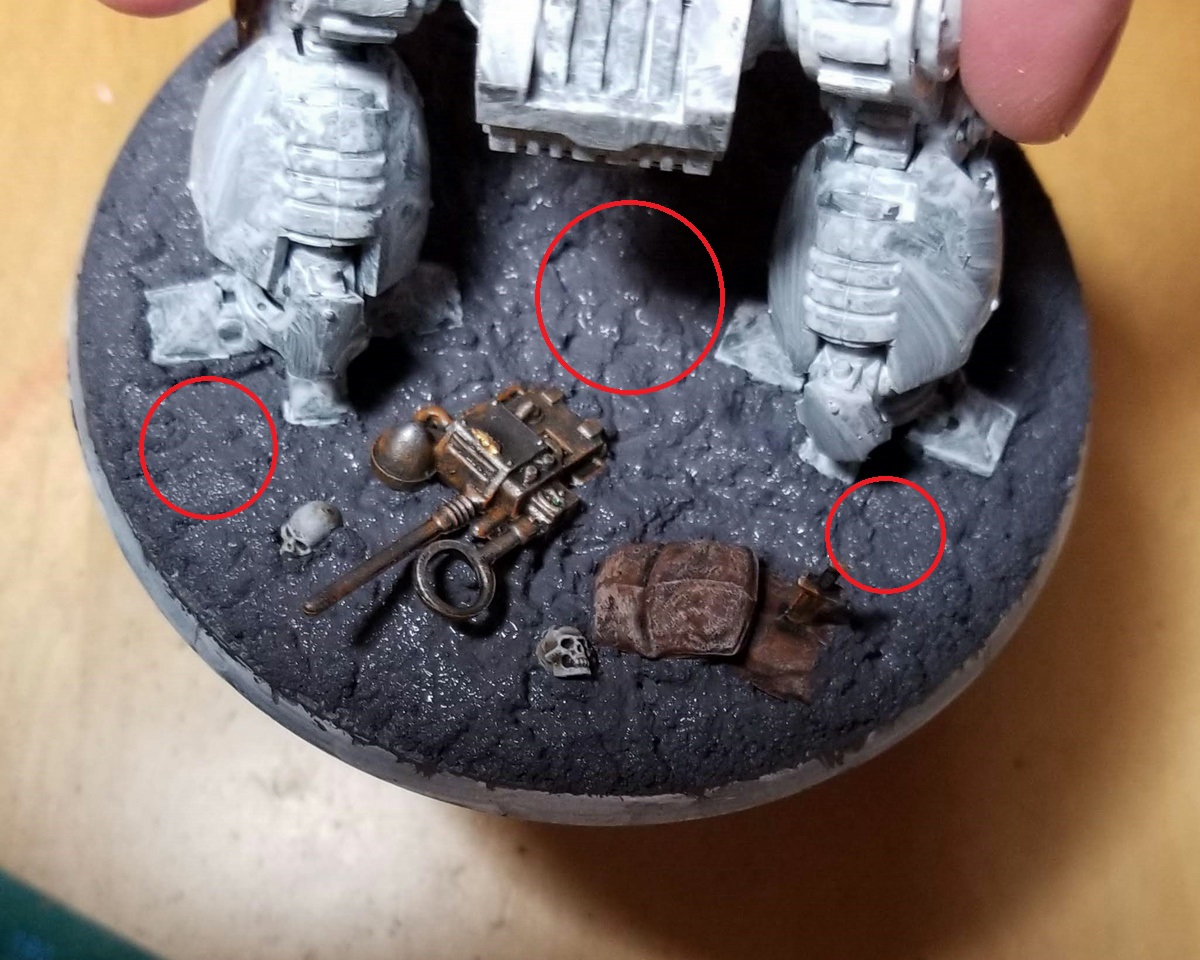
Feo was fun to build, but I was equally excited to work on his base — because at a staggering 90mm wide, it presented a huge canvas (relatively speaking) to tell a little story. So I decided to tell a two-part story.
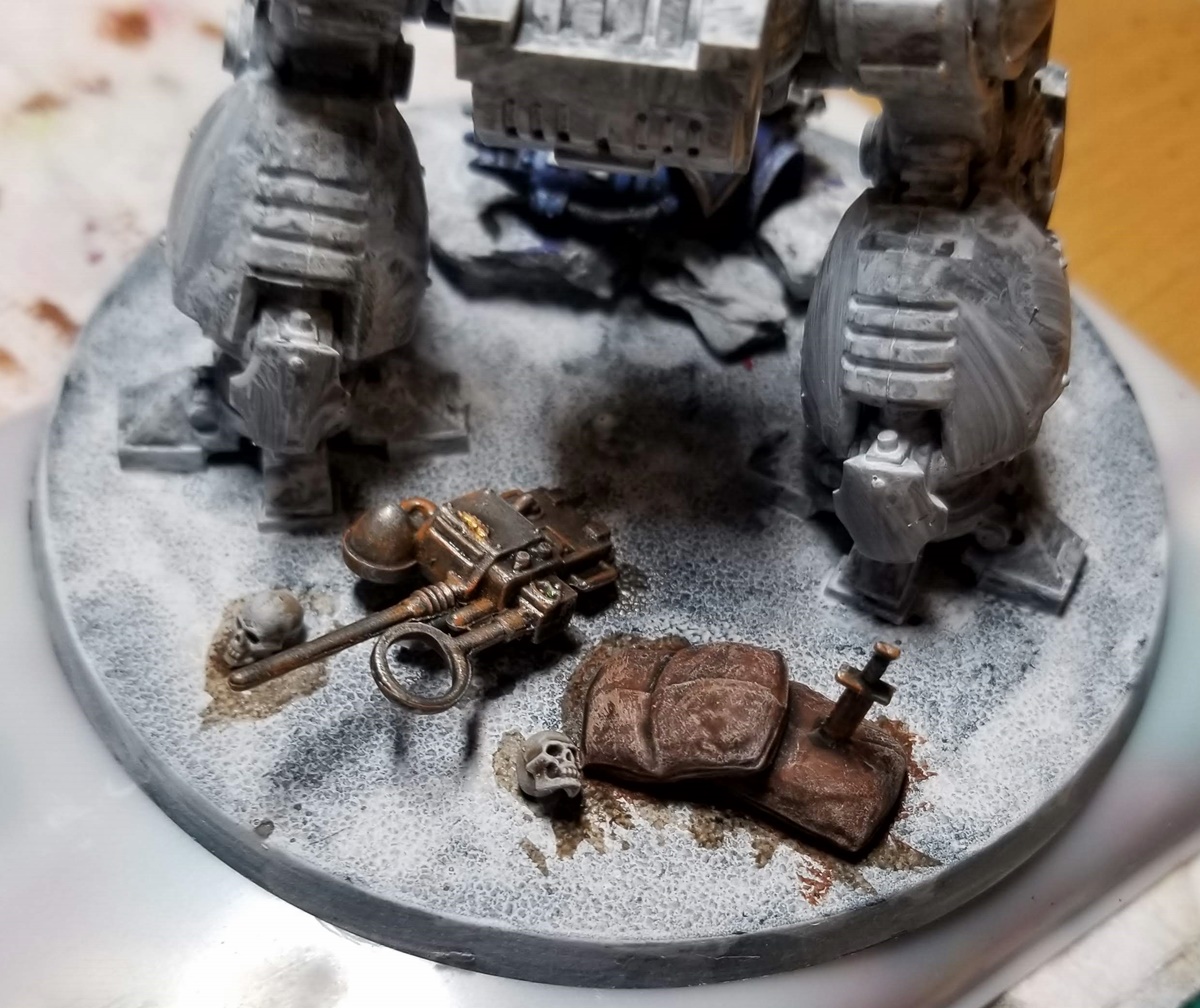
Part one is the back, where I added the remnants of an overrun Imperial Guard post.
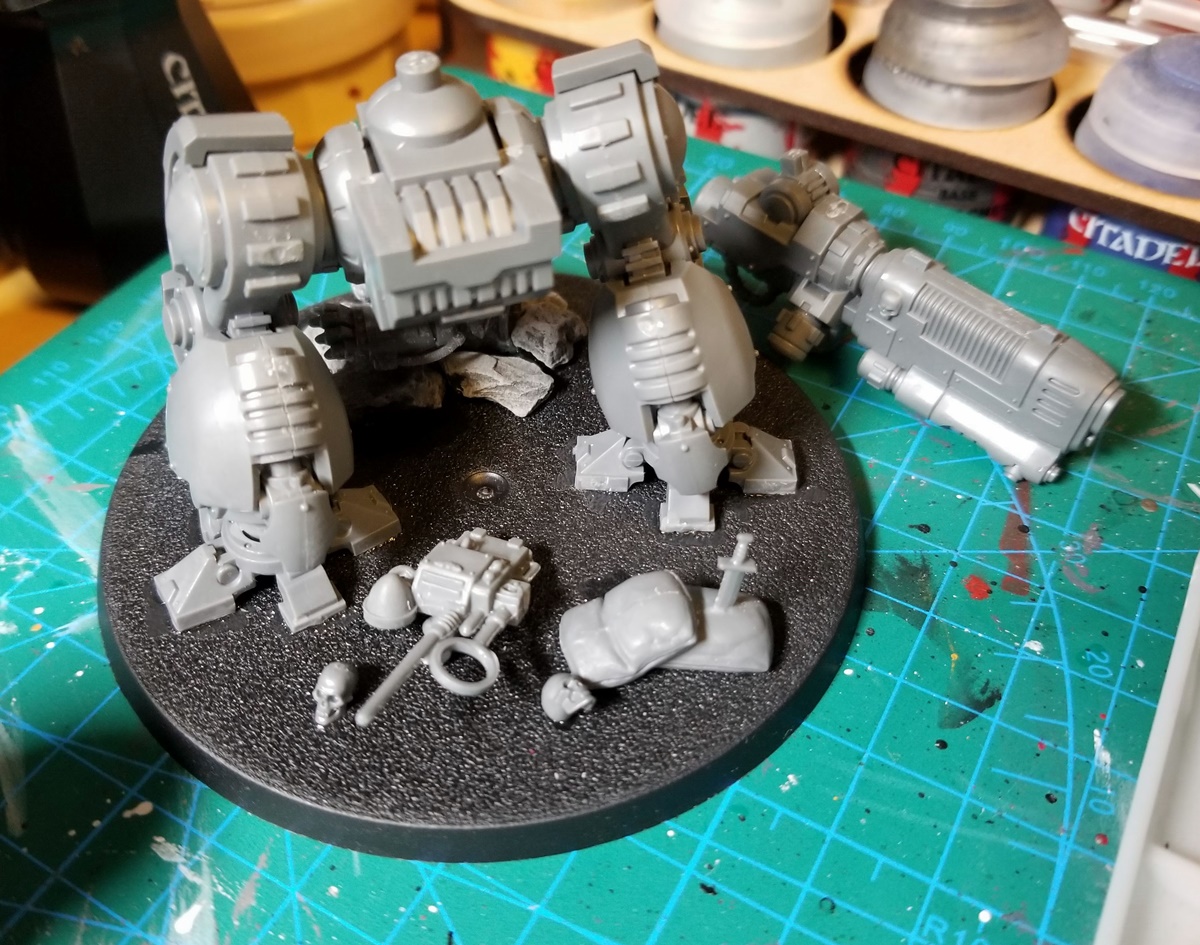
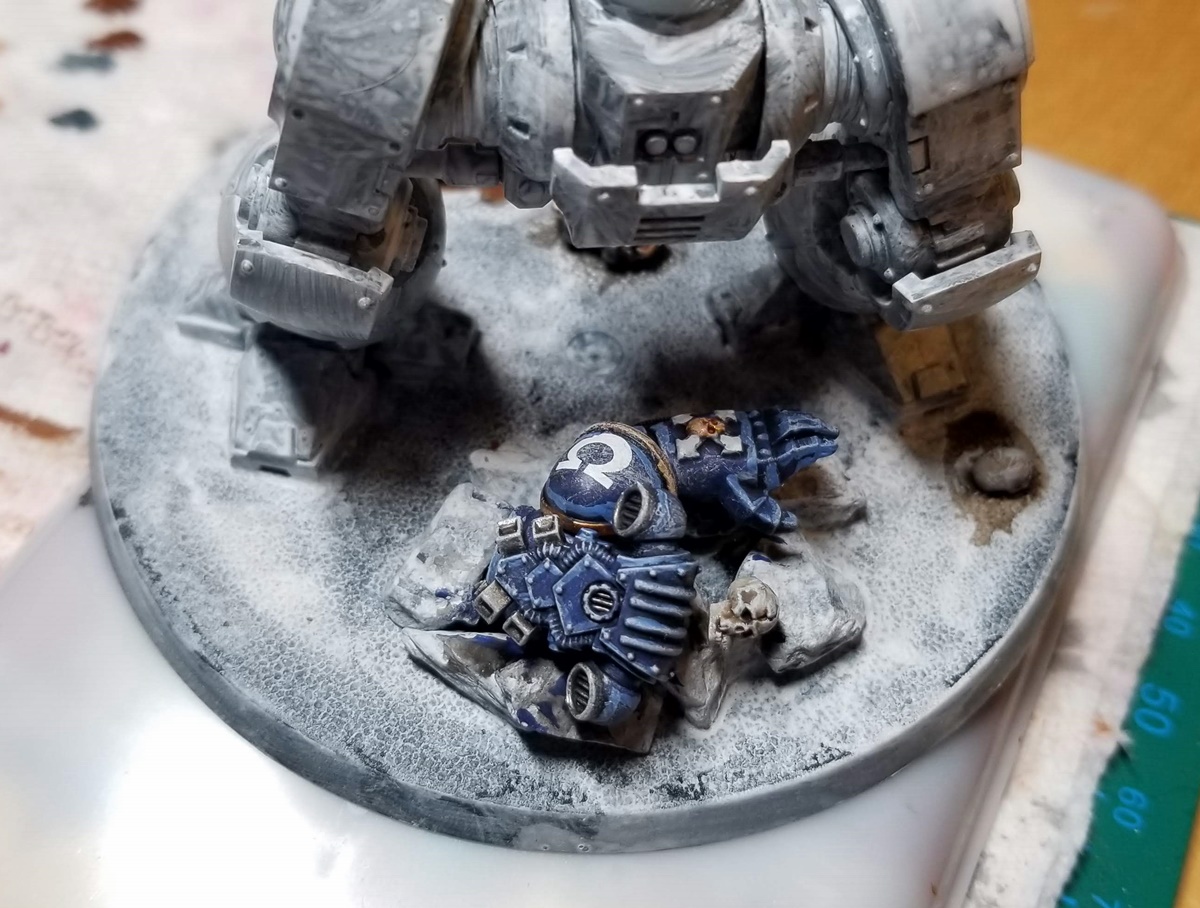
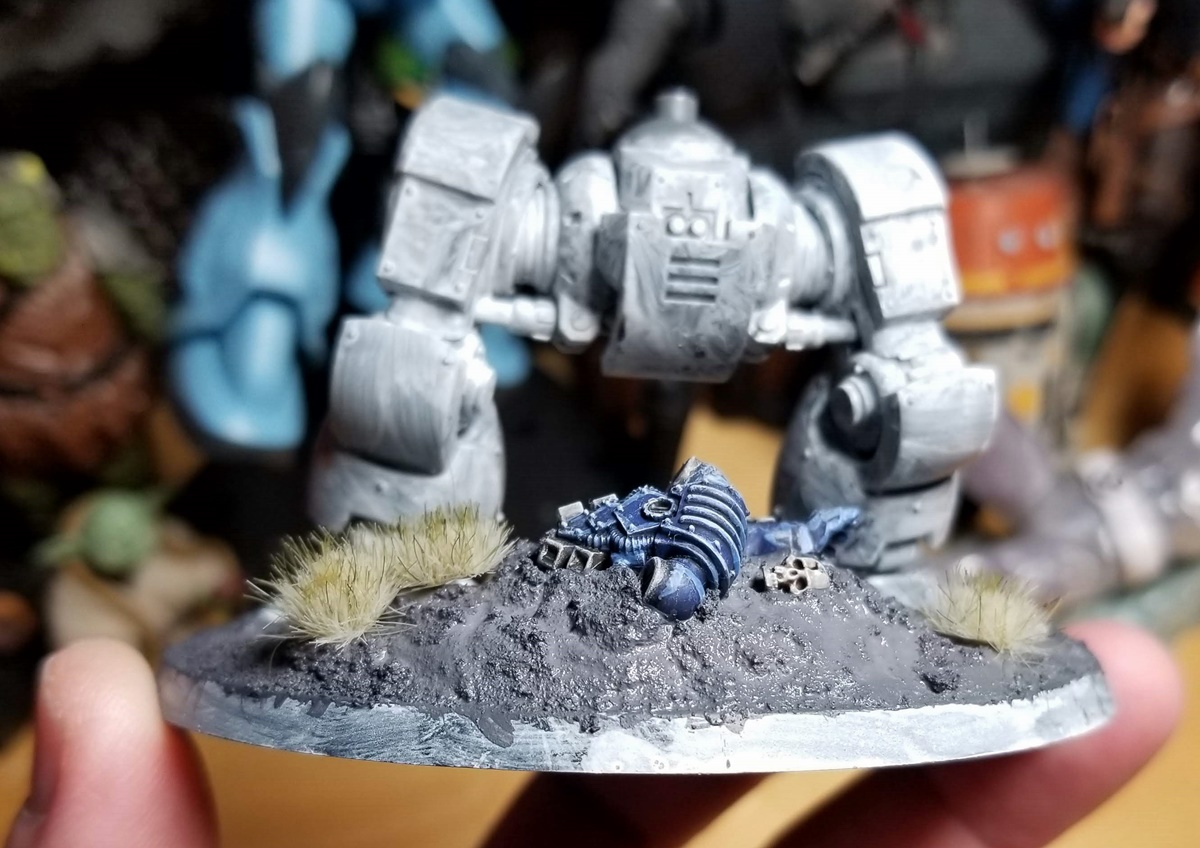
It continues on the front, with the remains of one of the Marines who came to Armageddon to assist a failing Guard mission (sorry, Astra Militarum — my brain automatically thinks “Imperial Guard”). When I get texture paint all packed in around him, I’m hoping it’ll look like his corpse is half-buried in the dust, with just his back, one Power Fist, and bleached skull visible.
And given that one theme of my army is “everyone wears a helmet,” how did this poor Marine die? From a head wound…because he wasn’t wearing a helmet. (It’s hard to make out, but his skull has a crack down the front.)
Mmm, slimy poop Chiclets.
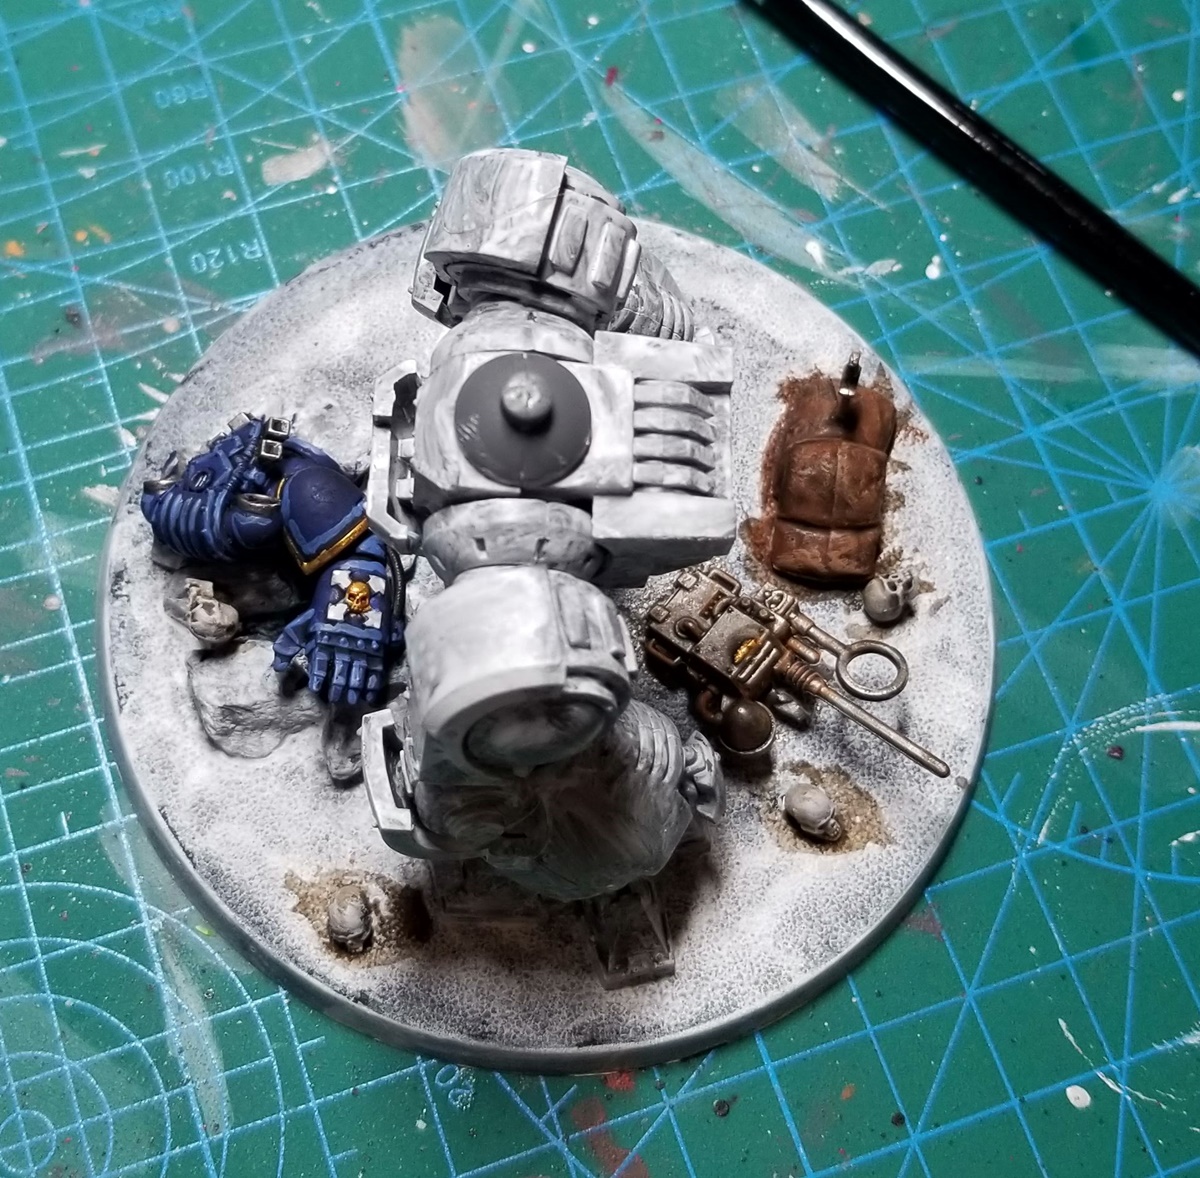
The sandbags were outside my wheelhouse (nothing in my army is brown…) and required some fumbling, including a full repaint and re-shading job. I eventually realized that it didn’t need a painted-on layer, just base > wash > drybrush > drybrush — and the recipe I used for the stone ruins on my Assault Squad’s bases. Hopefully they read as sandbags rather than stone.
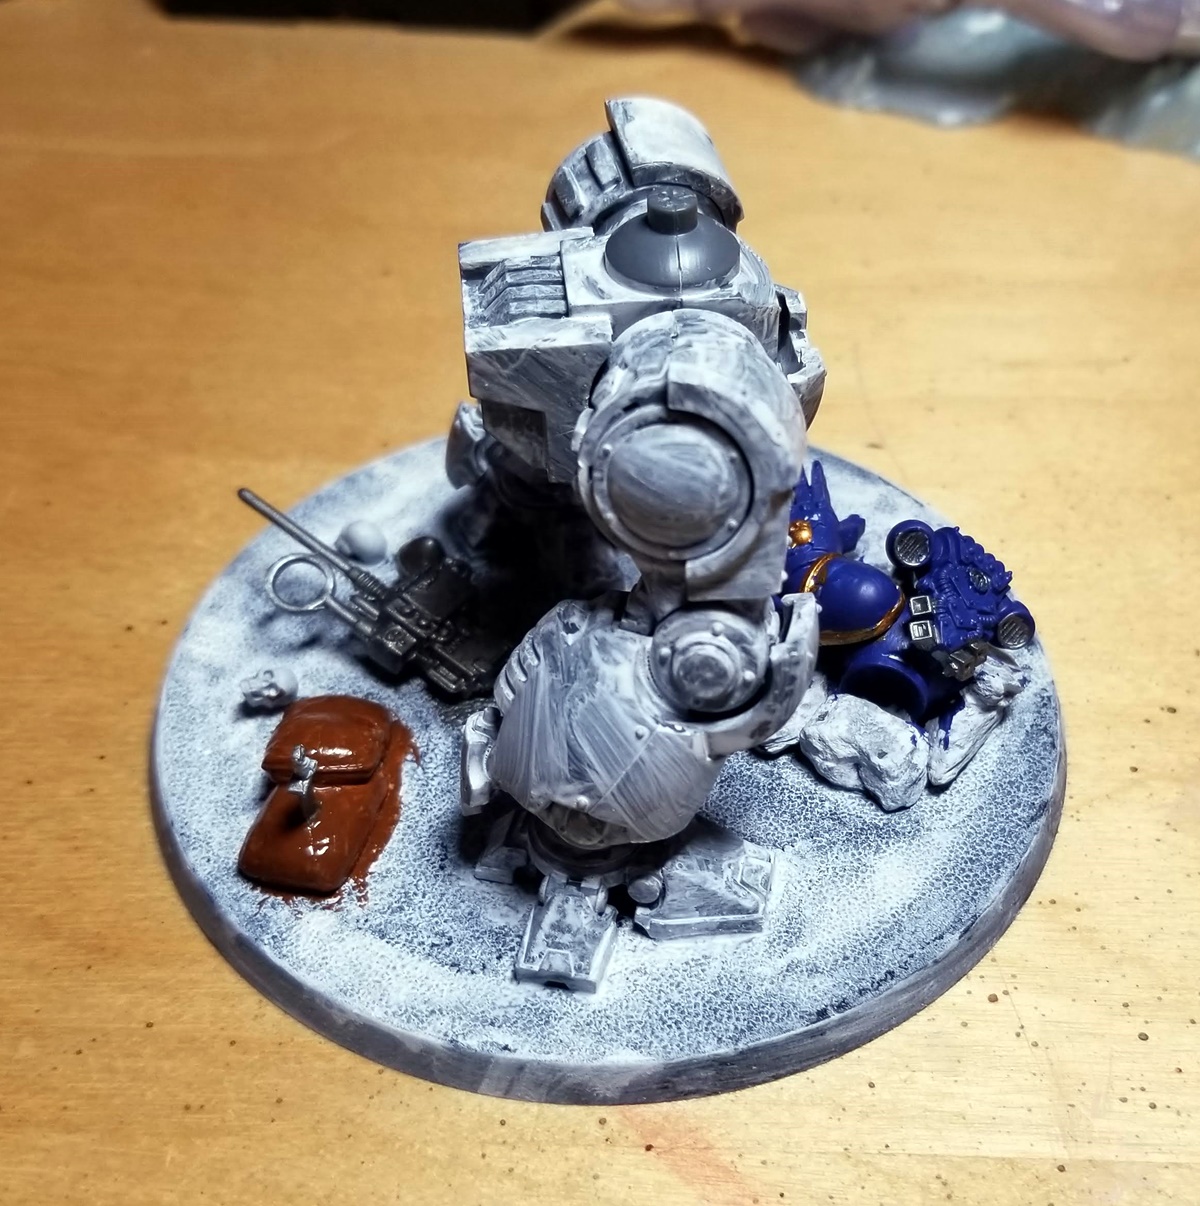
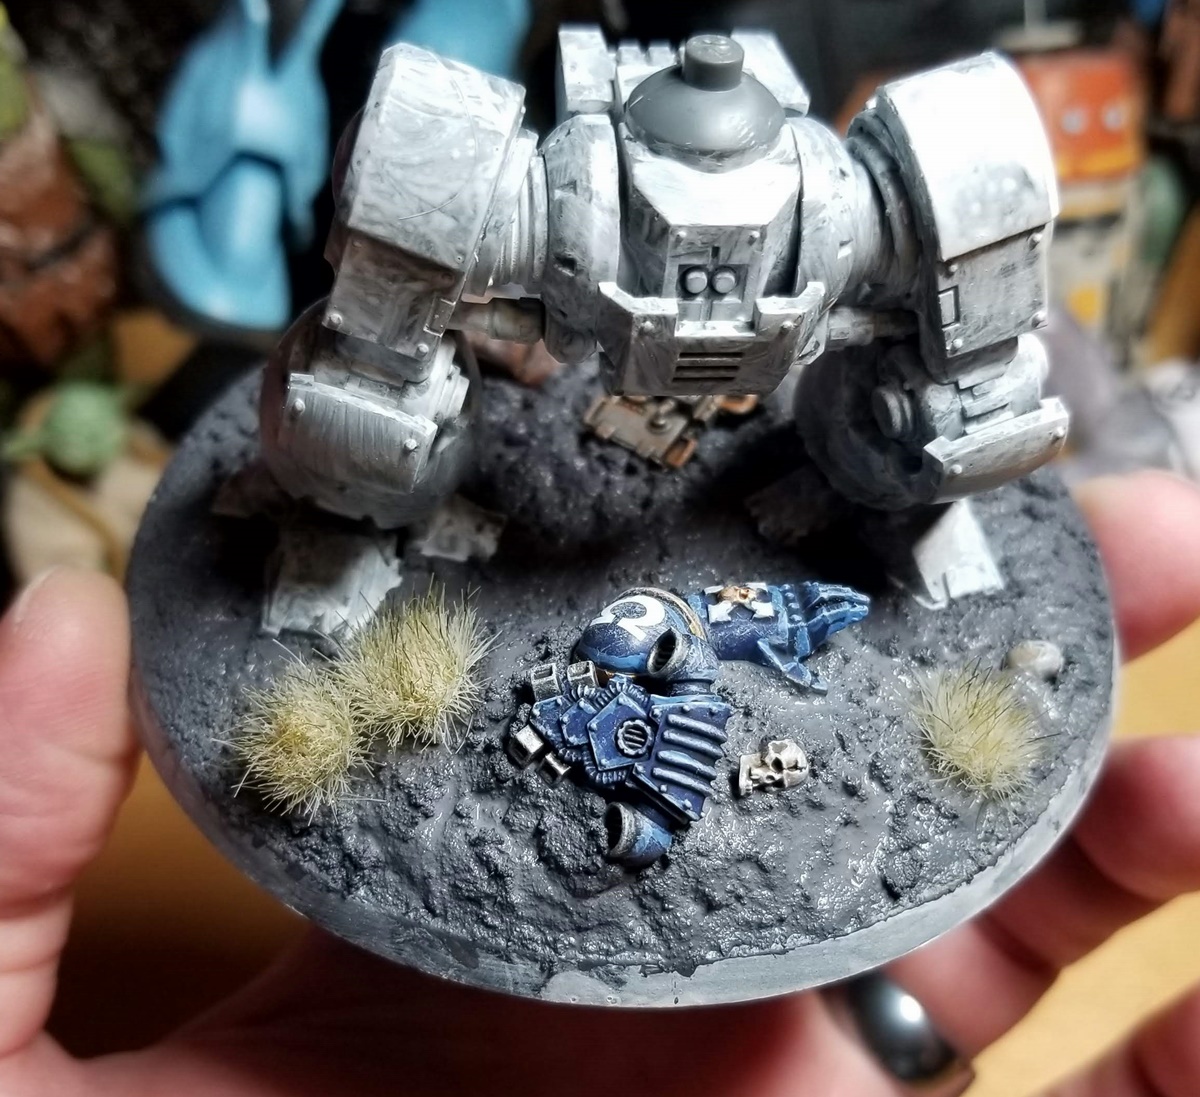
Next up, adding the texture paint — and building a convincing hill under and around my Ultramarine. This base swallowed the remnants of my second bottle of Astrogranite Debris and a good chunk of a fresh one, too.
I had to break up the line of the hill (which is going to take like a week to dry…), so I made little terraces for tufts and marked them in MS Paint. We’ll see if that does the trick!
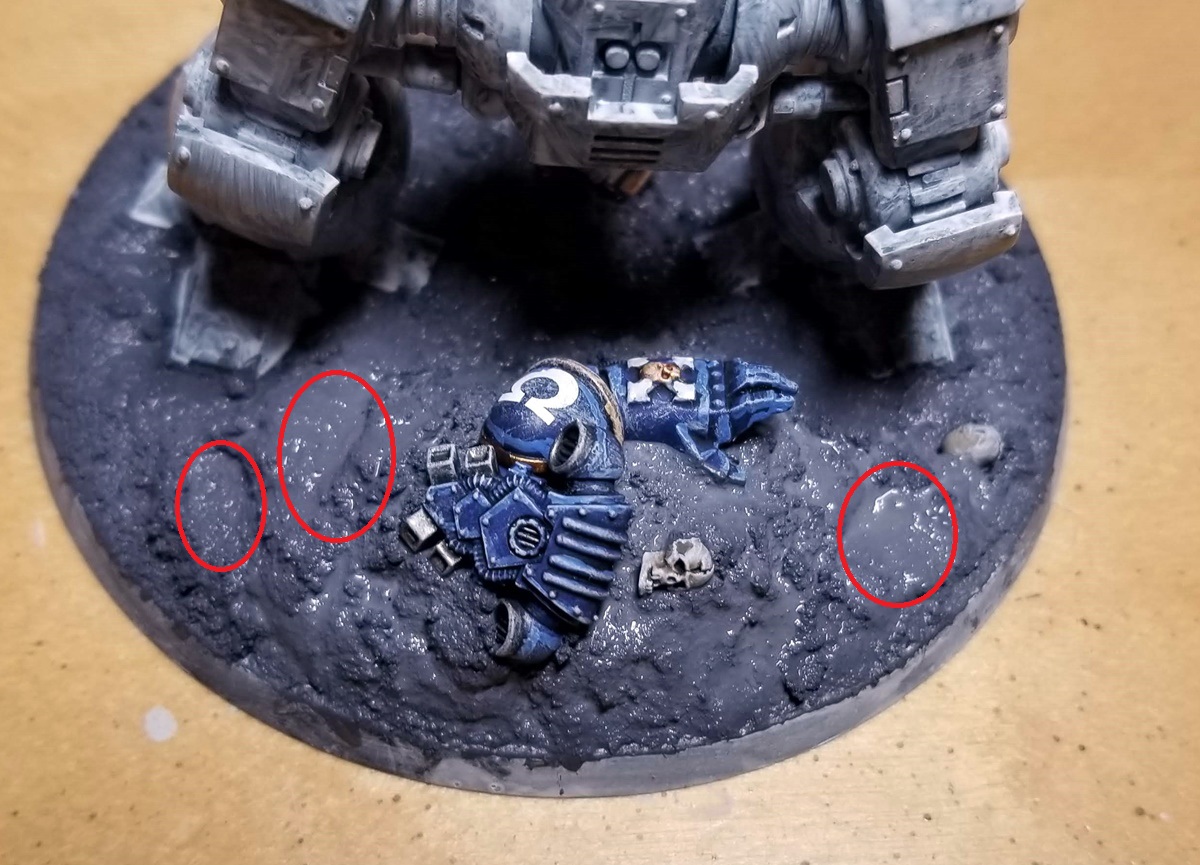
I’m not sure how convincing the hill is, and I wish I’d mounted a few skulls on posts to add some variety (building the level up to the skulls, like I did with the fallen Marine’s skull). But I test-tufted it, and held a Marine up in front of it in the same position, to see if it looked like there could be the bottom of a dude under there — and it does seem to work.
Redemptor Dreadnought base color guide
Feo’s scenic base uses the following for the non-standard elements (skulls, etc.), as always mostly based on GW’s Parade Ready recipes:
- Ultramarine armor: Macragge Blue > Nuln Oil > Calgar Blue > Grey Seer drybrush (dust/weathering)
- Ultramarine white: Celestra Grey > Drakenhof Nightshade > Ulthuan Grey > White Scar > Grey Seer drybrush
- Ultramarine gold: Retributor Armour > Reikland Fleshshade > Auric Armour Gold > Grey Seer drybrush
- Ultramarine metal: Leadbelcher > Nuln Oil > Stormhost Silver > Grey Seer drybrush
- Vox-caster and knife: Leadbelcher > Nuln Oil > Stormhost Silver drybrush > Ryza Rust drybrush
- Astra Militarum sandbags: Mournfang Brown > Agrax Earthshade > 2:1 Kislev Flesh:Mournfang Brown drybrush > Grey Seer drybrush
For the Ultramarine’s pauldron decal, I applied it just like normal but then varnished it before doing the dust/weathering drybrush layer; I worried that drybrushing might tear the decal. When I’m ready to varnish the whole model, that bit will get a second coat (which is fine).
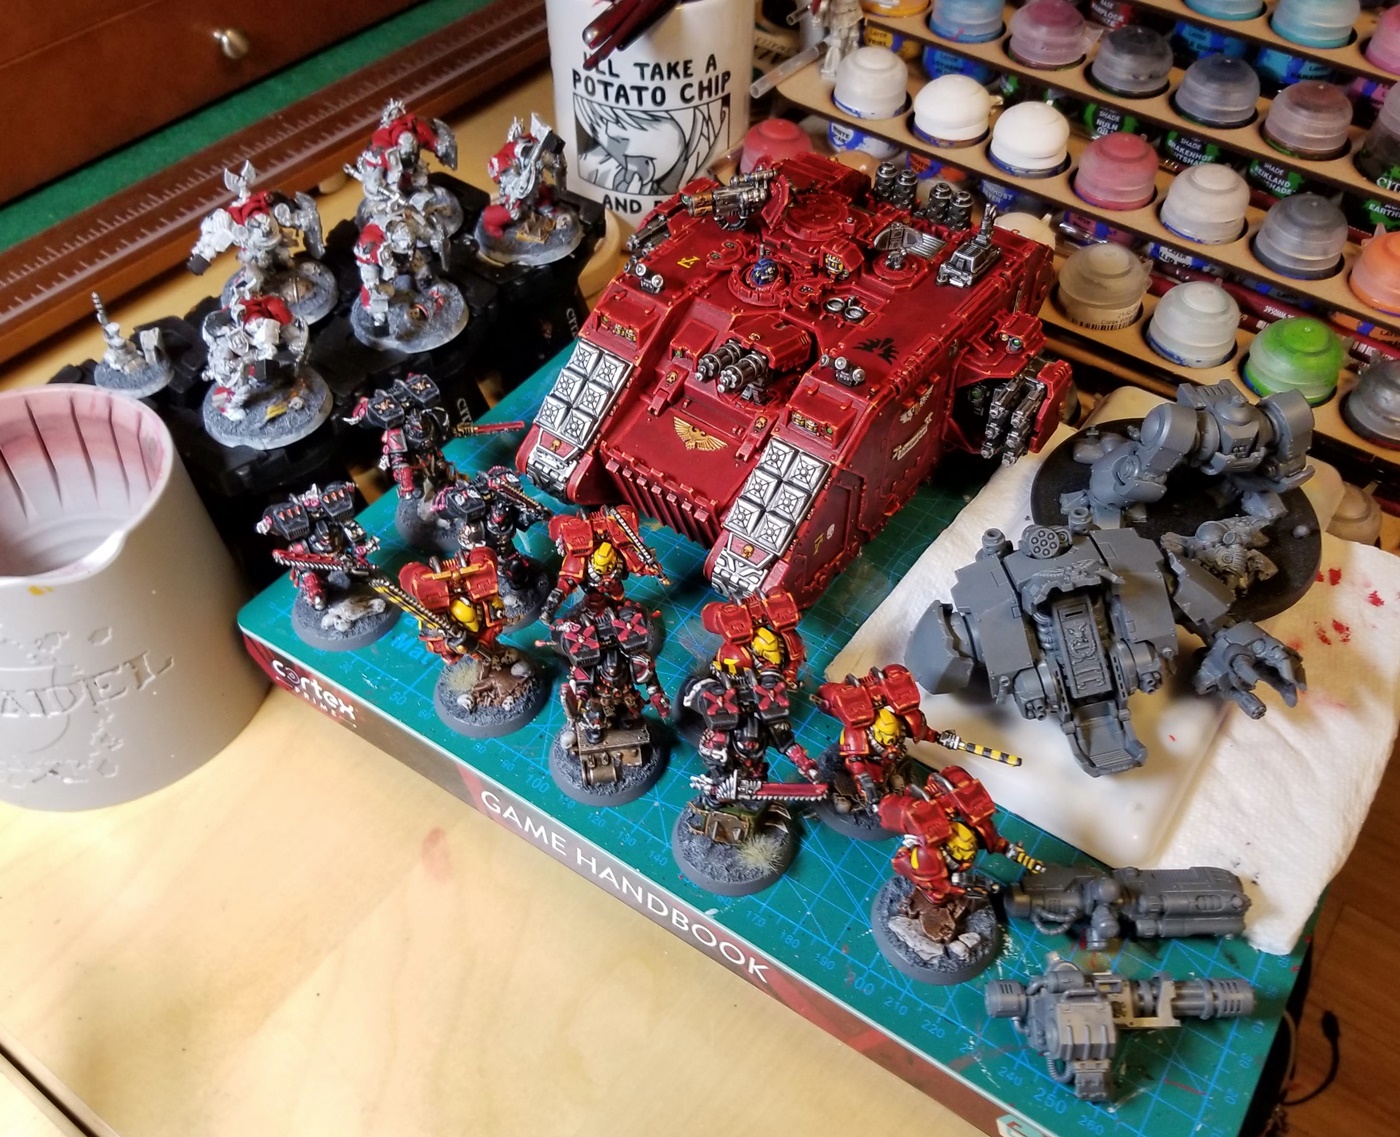
I love how huge this model is! I can’t wait to be able to do the full line-up: old Marine, Primaris Marine, refrigerator Dread, Contemptor, Redemptor.