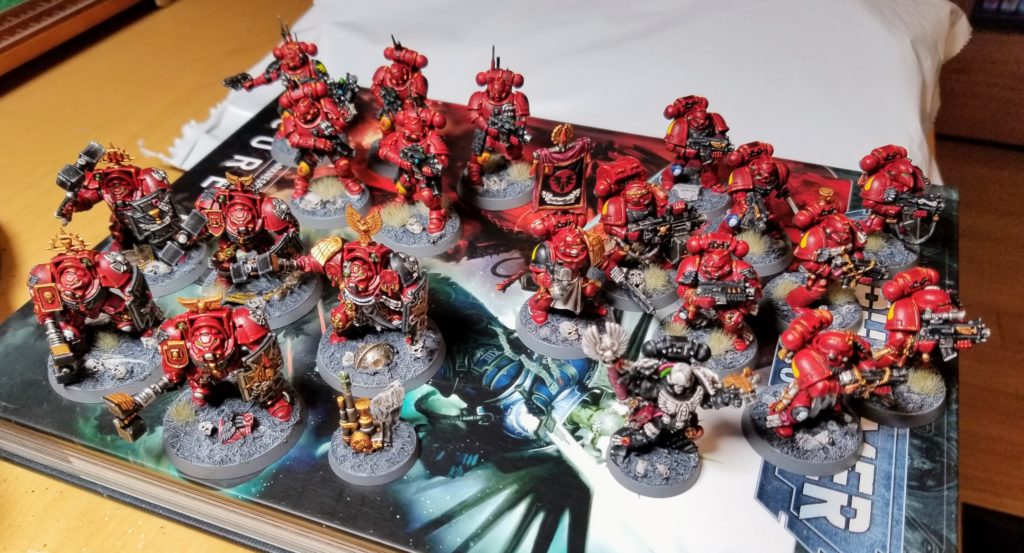
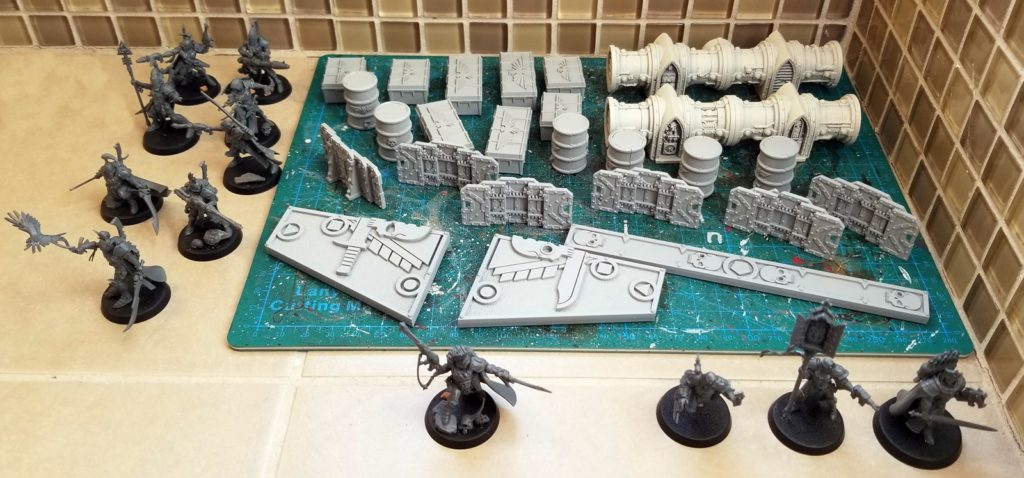
My first game of 40k since 1993: Blood Angels vs. Dark Angels
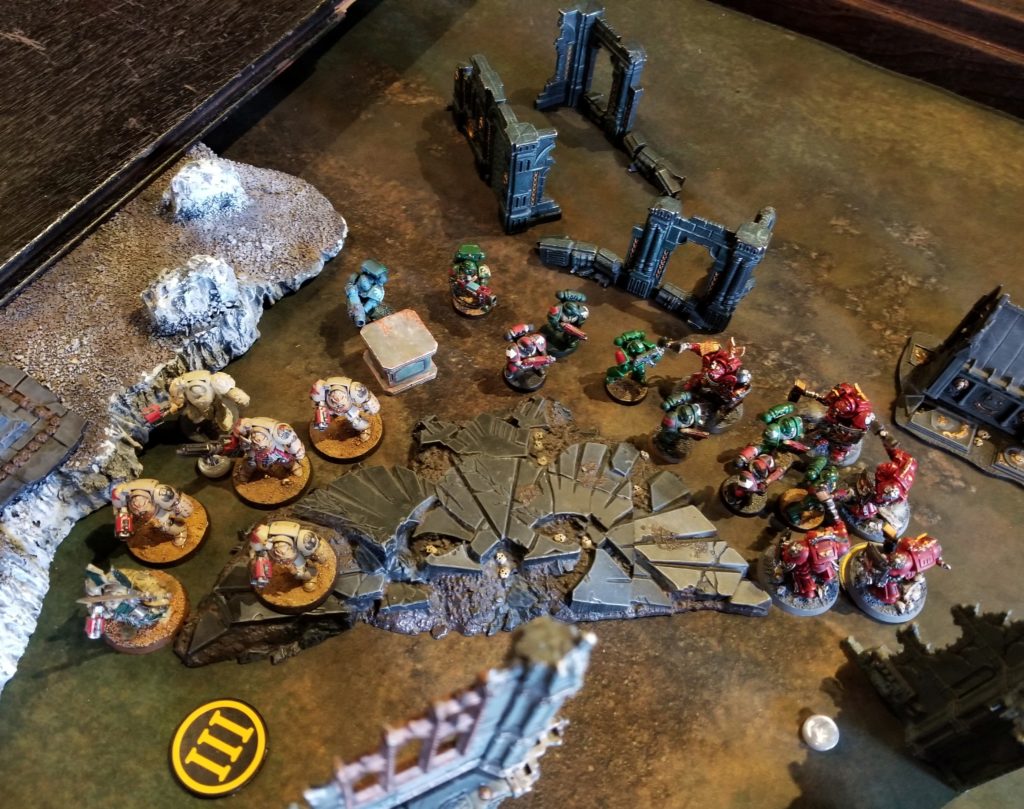
Despite a near-lifelong simmering love for the 40k universe, until this past weekend I’d only played 40k once or twice. That was back in 1993, when I pitted a box of Squats against my then-girlfriend’s Tyranids for a game or two. For a variety of reasons — some good, some irrational, let’s file them all […]
My first game of 40k since 1993: Blood Angels vs. Dark Angels Read More »