
I’m far enough along with my first Fire Team for Hive Fleet Balaur to need to take stock of my paint library, so it’s time for a color guide!
As always, this guide is drawn from a mix of GW material (White Dwarf #463 and a Warhammer TV video for the Leviathan scheme, Warhammer TV again for their classic Warriors video), YouTube tutorials (Doctor Faust and CatgutPainting for the mottling), and my own spin on things. Washes/shades are generally in italics, and my notation is base > shade > layer > layer for Citadel’s Parade Ready approach.
Bases
The main recipe comes from the White Dwarf Basing Cookbook.
- Terrain: Armageddon Dust > Agrax Earthshade all-over wash > Tyrant Skull drybrush
- Rocks: Pick one or mix in both:
- Dark grey: Mechanicus Standard Grey > Agrax Earthshade all-over wash > Celestra Grey drybrush
- Light grey: Grey Seer > Agrax Earthshade all-over wash > 50/50 Corax White/Grey Seer drybrush
- Skulls: Corax White > Agrax Earthshade all-over wash > Corax White drybrush
- Horns: Zandri Dust > Seraphim Sepia all-over wash > Ushabti Bone drybrush
- Base rim: Baneblade Brown
- Tufts: Army Painter swamp, winter, or both
I started out with a different base (Stirland Mud, Seraphim Sepia, Astorath Red), but decided it didn’t look naturalistic enough. If you see Genestealers on red-brown bases in older photos, those bases got clipped off and redone with the recipe above.
Models
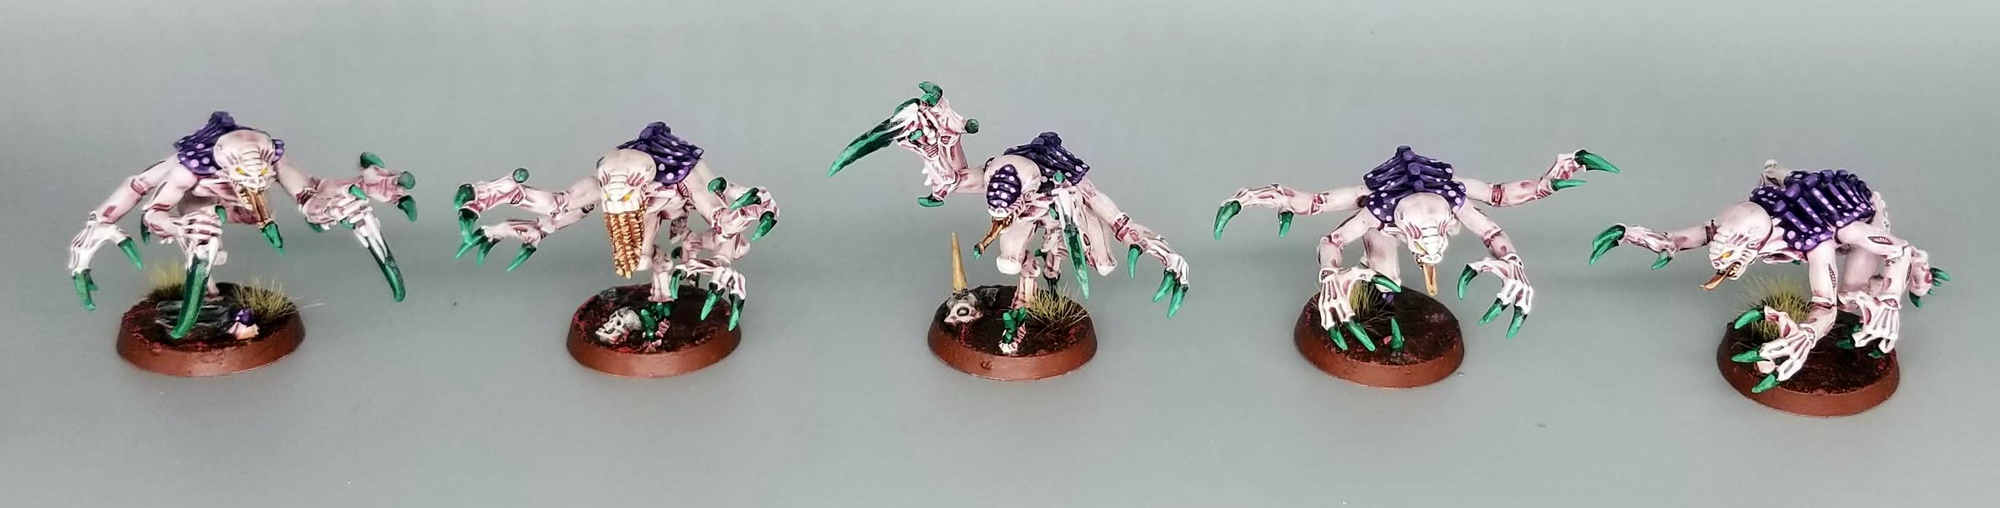
My Tyranid Kill Team only has two units as of this writing, Genestealers and Tyranid Warriors, and Tyranids tend to be pretty similar faction-wide, so this is pretty much my guide for all Hive Fleet Balaur Tyranids. Balaur is a splinter fleet of Leviathan, so the studio scheme for Leviathan was my starting point.
Paint steps vary slightly from my usual approach because the full-body drybrush is messy, so it has to come before most of the other steps: Prime and base coat with Wraithbone spray, shade the skin, drybrush the skin, deepen the wash in the vents/joints; then finish the bases; and then do everything else.
- Body/skin: Wraithbone spray > 1:4 Carroburg Crimson:Lahmian Medium all-over wash > Screaming Skull drybrush > light Pallid Wych Flesh drybrush > Carroburg Crimson wash in the vents/joints (to reestablish the color) > Pallid Wych Flesh on high points
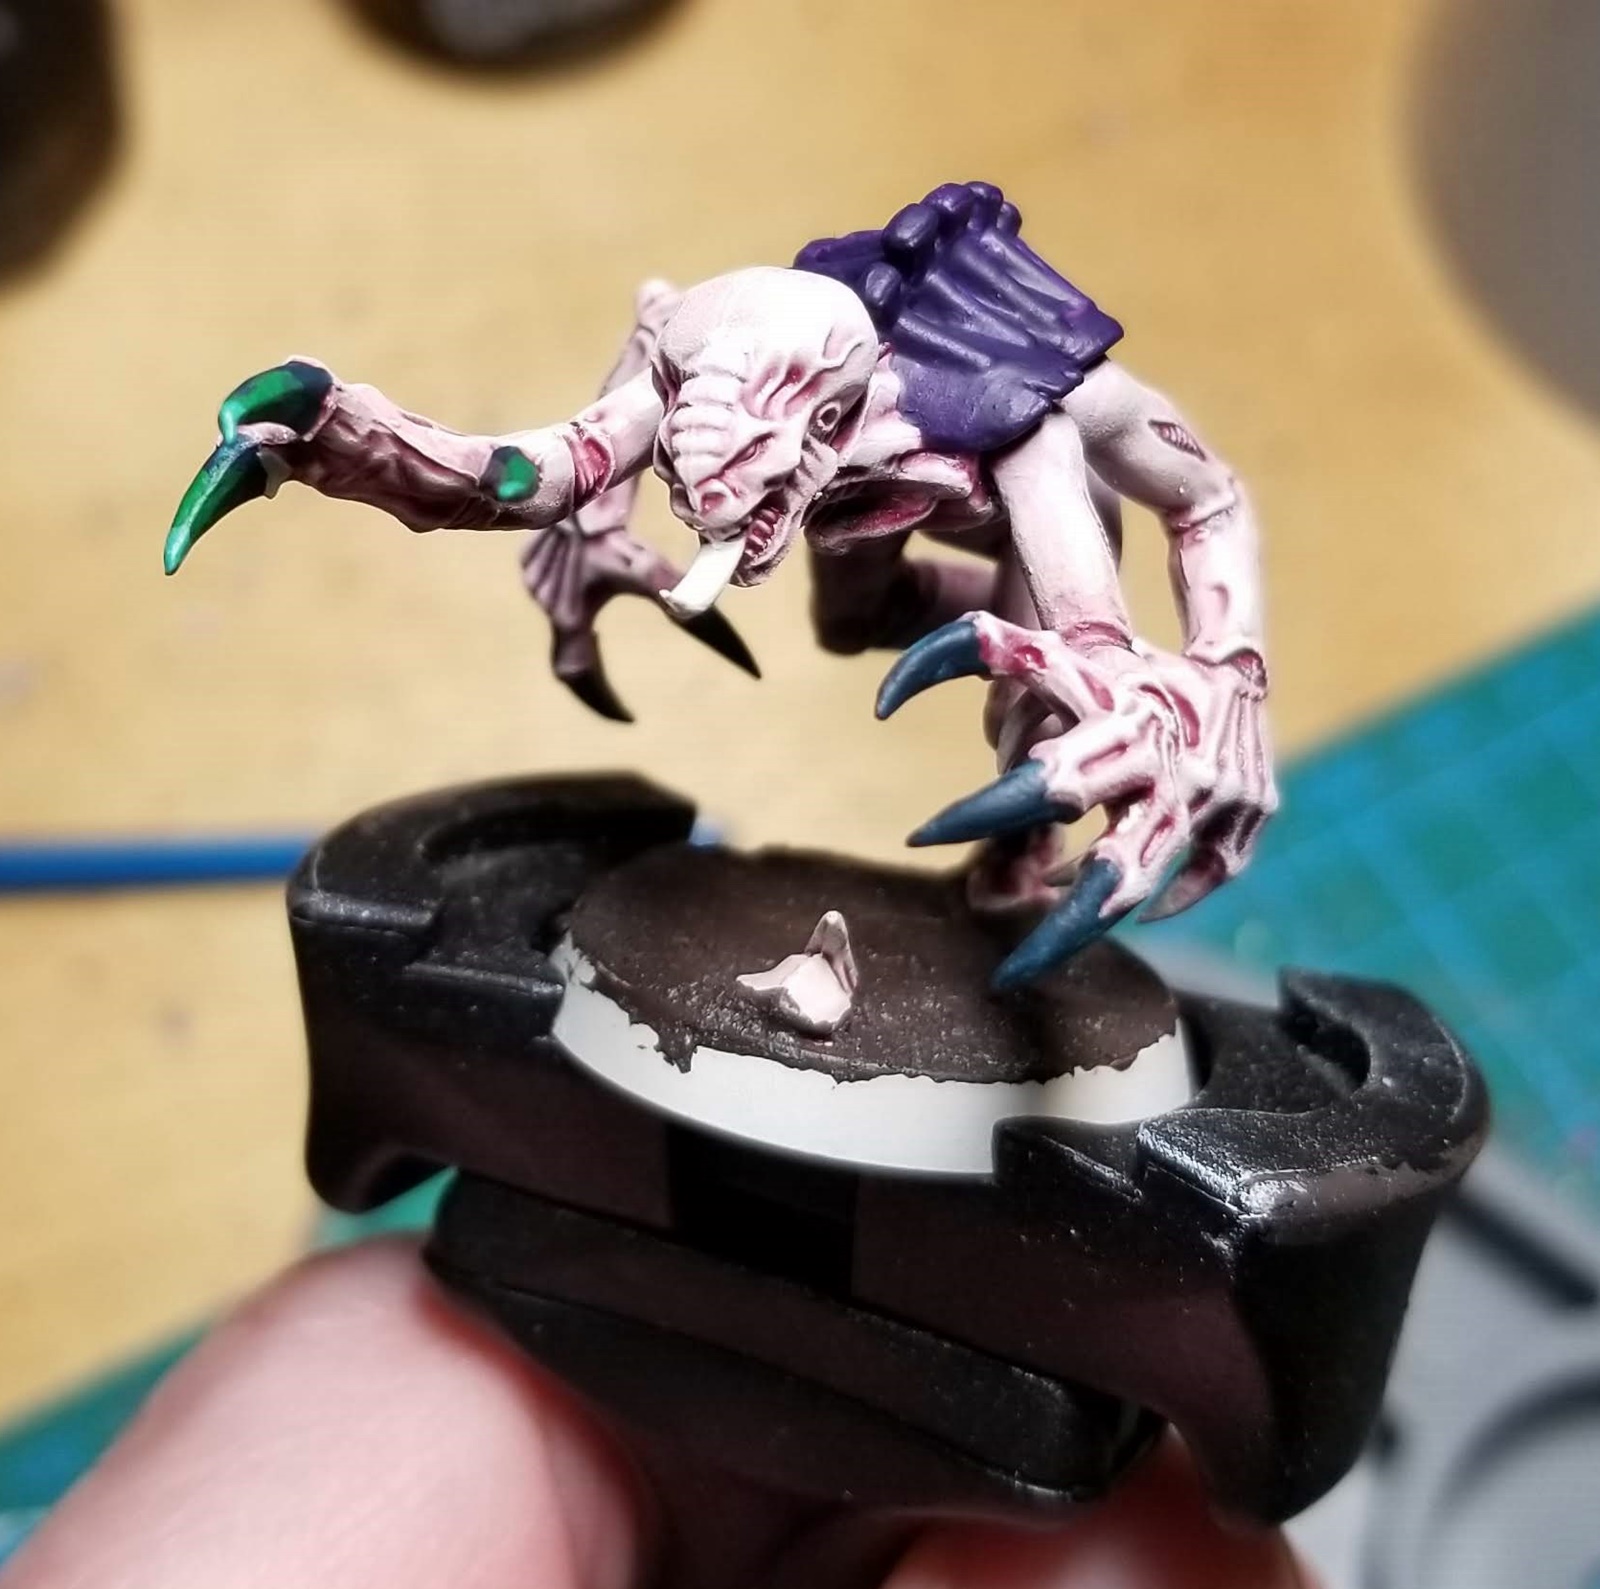
- Carapace: Finish the foundation steps, then dot it. Don’t dot the hooves.
- Foundation: Naggaroth Night > Druchii Violet all-over wash > Xereus Purple edge highlights > Genestealer Purple edge/point highlights
- Dots: This is a slow and steady process: Too much paint on the tool and you get a thick blob; too little and you don’t get a dot. Each dip of tool into paint is good for maybe 2-4 dots. Using a dotting tool, apply dots of Fire Dragon Bright, not too thin — each dot should be one and done — wherever it makes the most sense for a particular area of carapace, in an irregular, organic non-pattern.
- Genestealers: Along the outside edges of the body portion and down the center of any head carapace bits.
- Tyranid Warriors: Always avoid the center-line protrusions/spines.
- Large plates (like their backs): Follow the outside edges and also run the dots into the middle along the bottom edges.
- Tail plates: Just follow the outside edges.
- Guns and leg plates: Just go down the center.
- Heads: Follow the outside edges.
- Flaring horns and boss shoulders: Just the leading/outside edge.
- Claws and spikes: Incubi Darkness > Nuln Oil pin wash (skip if they have no recesses) > Warpstone Glow edge highlight > Sybarite Green point highlight
- Weapons larger than claws (except lash whips): Three stages:
- Base coat and wash: Incubi Darkness > Nuln Oil pin wash
- Glaze: 1:6 Warpstone Glow:Lahmian Medium, 7-8 layers, starting with almost the entire weapon and covering a bit less area every time, working from the base towards the tip; the end should be pretty close to pure Warpstone Glow
- On the guns with pink vents down the middle, only glaze the very tip of the gun — just avoid those vents as much as possible
- Highlights: The idea is to let the glaze be the star of the show. I originally highlighted the entire weapon in Warpstone, but it overwhelms the subtle glazed areas and doesn’t do anything on the full-strength glazed areas.
- On the unglazed portion, edge highlight sparingly with Warpstone Glow, and then point highlight with Sybarite Green.
- On the glazed portions, using a brush fresh enough to still have a defined shape (IE not a busted-ass drybrush), I do something between edge highlighting and drybrushing with Sybarite Green. The brush is about half as dry as a drybrush, and I paint at a 45′ angle to the edges of the brightest parts of the glazed sections, running the edge of the brush along just as if I were edge highlighting.
- If I had the brush control for it, this could be done with plain old edge highlighting. But when I’ve tried that, I always sprawl into the glaze and overwhelm the effect. This is more subtle and more forgiving.
- Fleshy bits and tongues: Bugman’s Glow > Reikland Fleshshade all-over wash > Kislev Flesh drybrush
- Lash whips: As fleshy bits, but with green handle (no glazing). After drybrushing the fleshy portion, hit the spikes with Warpstone Glow.
- Little blobby venom sacs and stuff: Moot Green > Athonian Camoshade all-over wash > Moot Green
- Teeth: Screaming Skull > Agrax Earthshade all-over wash > Screaming Skull
- Eyes: Averland Sunset > Flash Gitz Yellow
- Eyes set into weapons: Averland Sunset > paint a vertical “slit” of Abaddon Black > Flash Gitz Yellow
What makes this scheme sing for me, especially on larger models, are the two show elements: the glazed weapons, with the contrast between the super deep green and the much brighter green; and the pop of orange dots on deep purple carapaces.
Notes
I’m still pretty new to using Lahmian Medium, and my first attempt for the main body/flesh wash — 1:3 Screamer Pink:Lahmian Medium, my best guess at the ratio used in White Dwarf #463 — went on more like a base coat than a wash. So I switched to using my shade brush, Carroburg Crimson, and a 1:4 ratio, and that went much more smoothly.