Sailing out of the painting doldrums with Blood Bowl
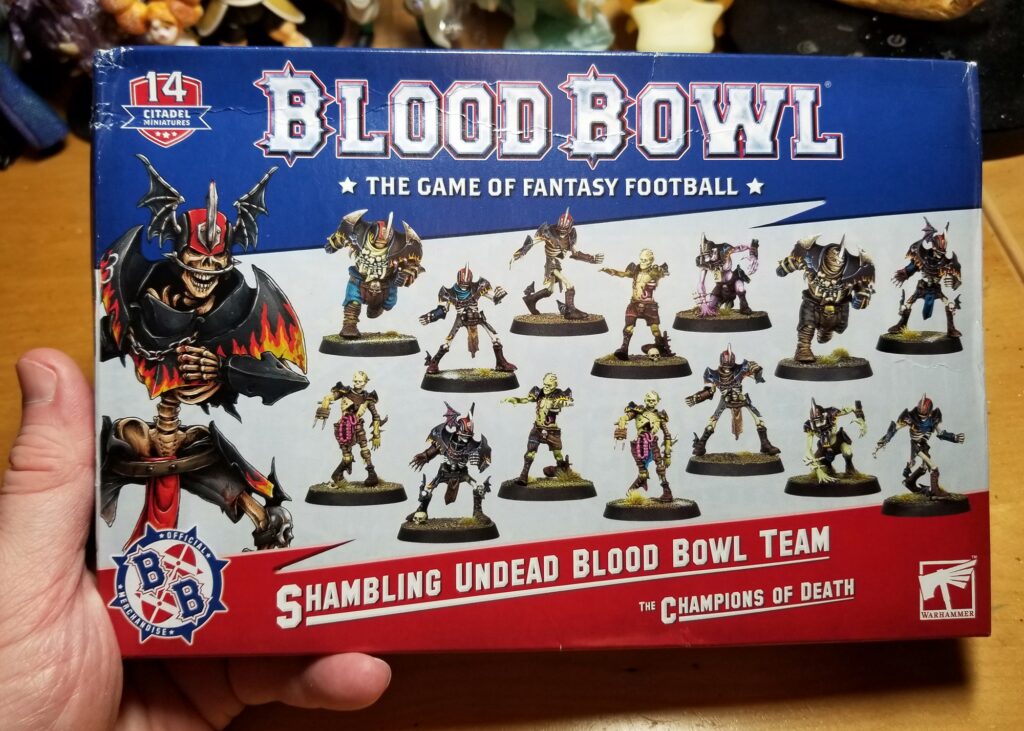
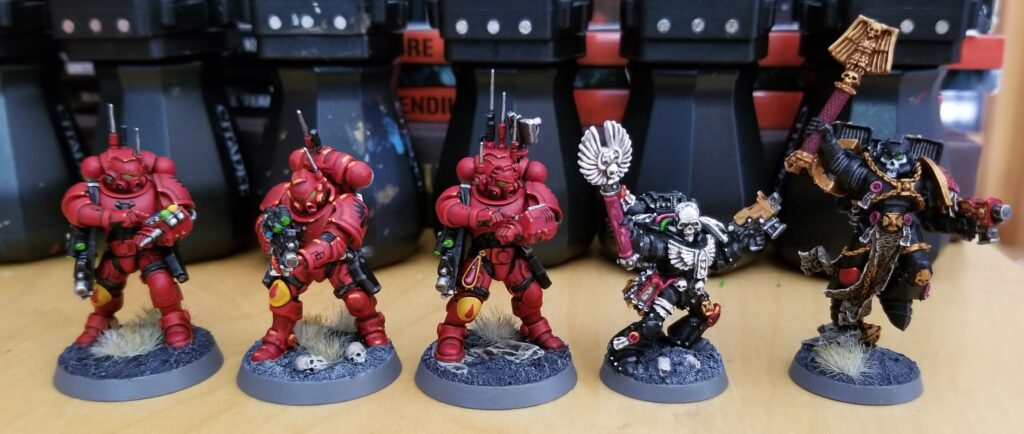
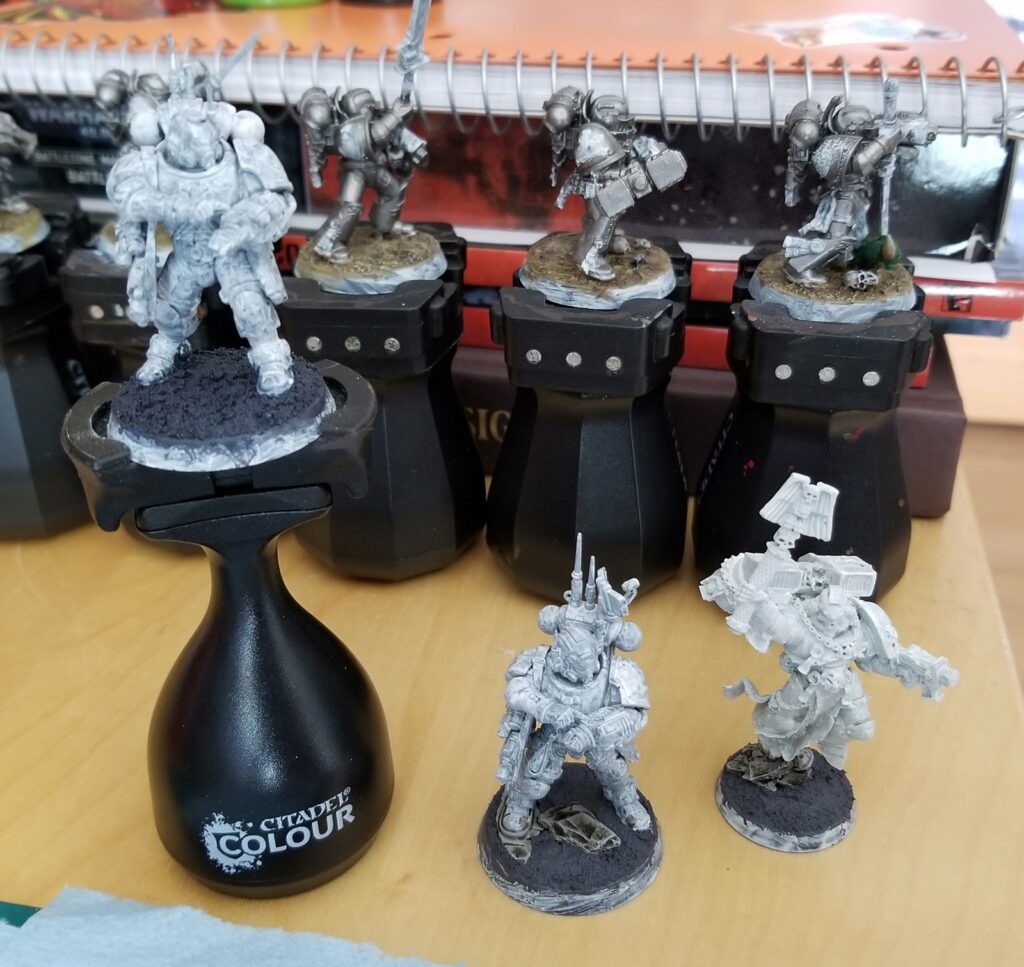
I didn’t paint much in 2023. I took stock in the new year and realized that after three years of painting minis for 40k, Kill Team, and BattleTech, I’d played just ten games using those minis (three 40k, six KT, one BT). Now, a big part of figuring out that I secretly enjoyed painting minis […]
Sailing out of the painting doldrums with Blood Bowl Read More »