New baseline Blood Angels color guide
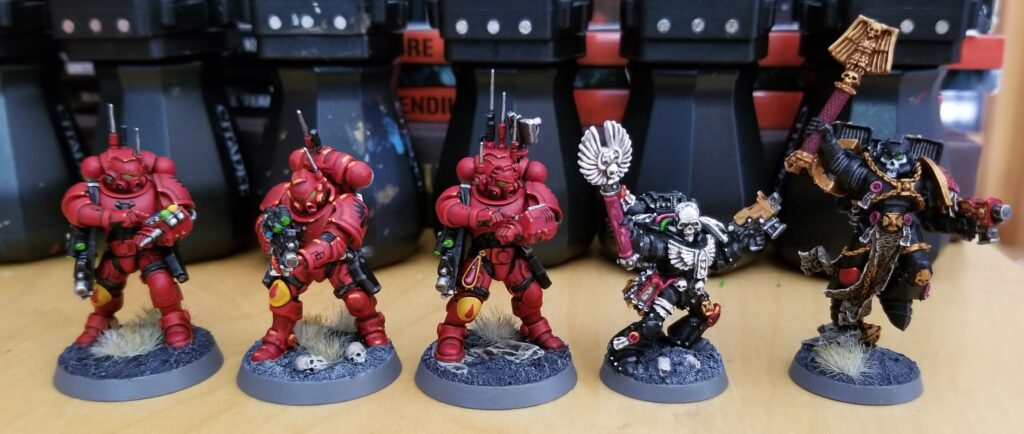
I committed to learning to pin wash when I started painting BattleTech minis again, and since my first outing I’ve added it to my toolkit. That also means it’s time for an updated Blood Angels color guide, since pin washing is a big part of my Space Marine painting process now. The pin wash on […]
New baseline Blood Angels color guide Read More »