
After ruining my Scouts’ camo cloaks with overzealous highlighting, I thought about my options, slept on it, and settled on the path that sounded the most reasonable to me:
- Repaint them in Mechanicus Standard Grey, allowing me to leave their necks alone and helping hide any areas I miss
- For the camo, stick with Celestra Grey but switch from Dawnstone to Dark Reaper, since Dawnstone didn’t really work out
- Wash with Drakenhof Nightshade again; that was solid
- Do a minimal highlight just in the backpack area with Dawnstone
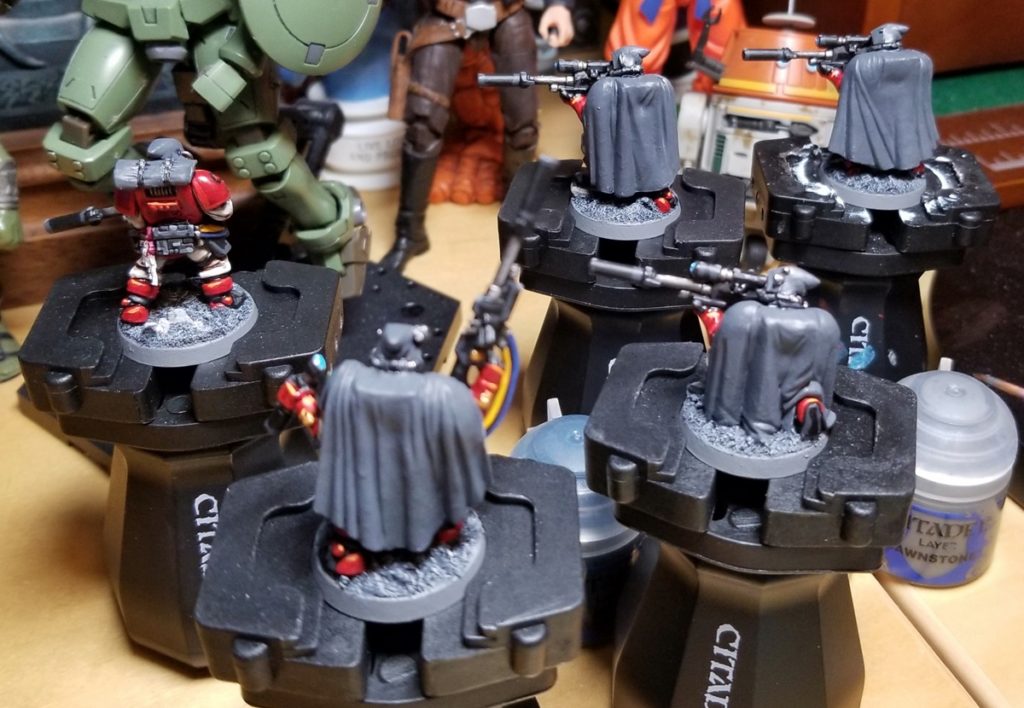
I don’t think I’ve ever tried to fix a substantial mistake at the “finished miniature” stage before. I can recall messing up my sealant a couple of times, years ago, but my “fix” was throwing away the miniature (because I didn’t know better). Fortunately the cloaks are a big, simple shape and I was able to repaint them without bodging paint onto the decals, etc.
Speaking of decals, I forgot to include this photo in yesterday’s post:
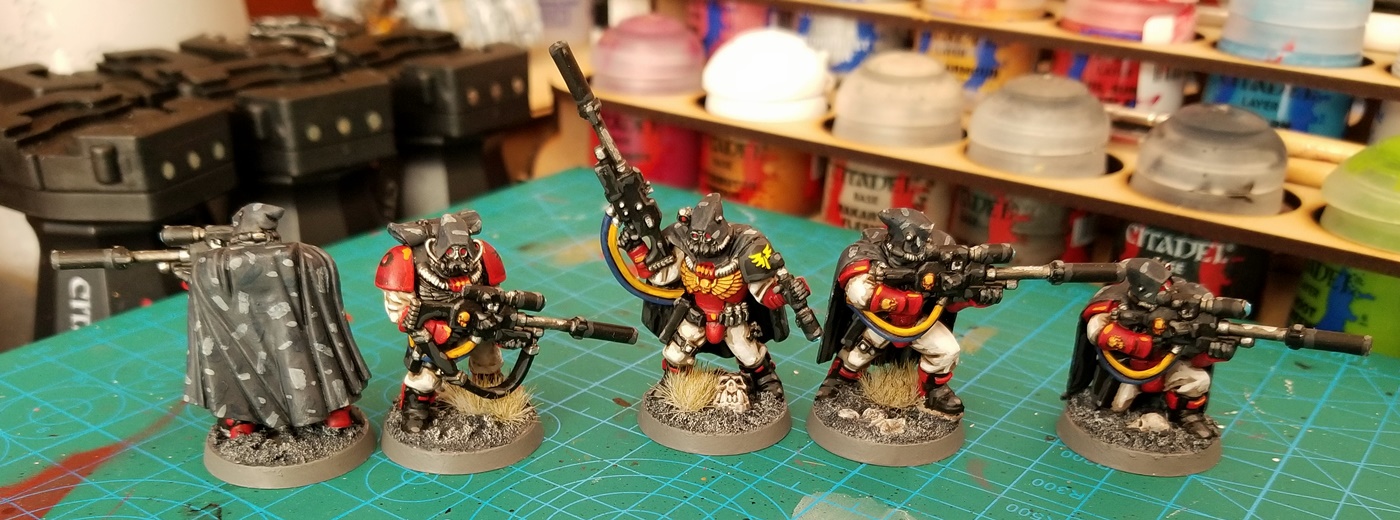
My GW decal sheets have been perfect so far, but these 10th Company ones — from two separate decal sheets — both have a white border. Trying to paint out the border on a pauldron I’d already washed and highlighted sounded like a bad idea, so instead I just did the lone company icon freehand. Gotta love cloaks that cover up shoulder pads, otherwise I’d have had to freehand five!
Anyhoo, they were wet when I dropped them onto my painting mat — so now they’re a part of its story forever.
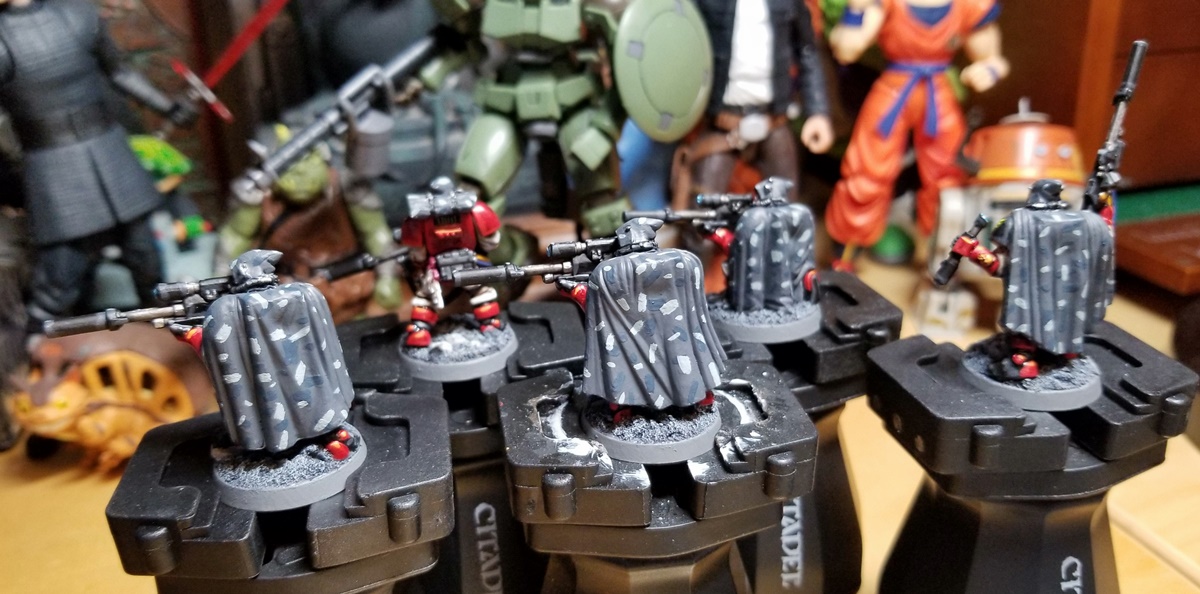
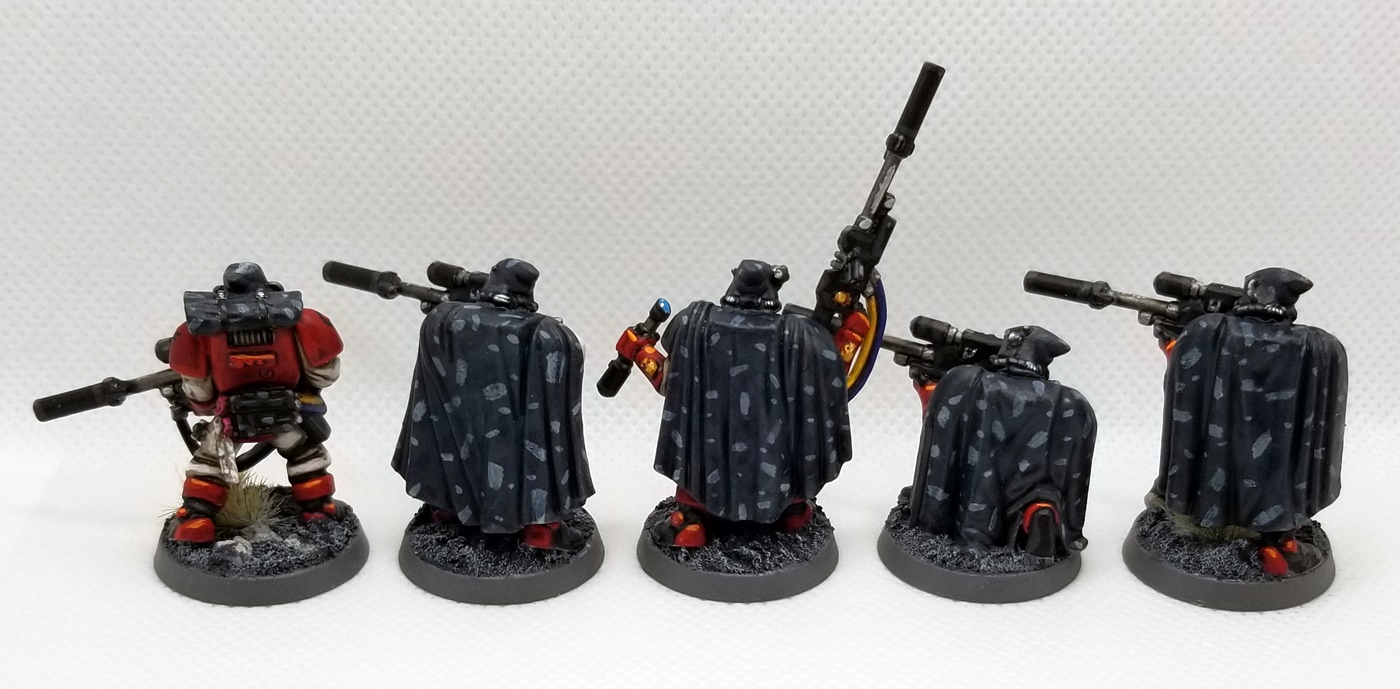
And here’s the silver lining of fucking these guys up and having to redo them: I got to tweak the camo colors and pattern based on the first go-round, and I remembered that “minimal highlights needed” is a situation for which I have a tool in my toolbox that I’d been overlooking — namely drybrushing!
So I hit their cloaks and with a subtle Dawnstone drybrush, which turned out well. The Dark Reaper patches basically vanish under the wash, unfortunately, but in the right light you can tell that there’s a second color in there alongside the light gray. They’re not perfect, but the camo looks like camo. I’ll take it!
And with that, my second Blood Angels squad is done.
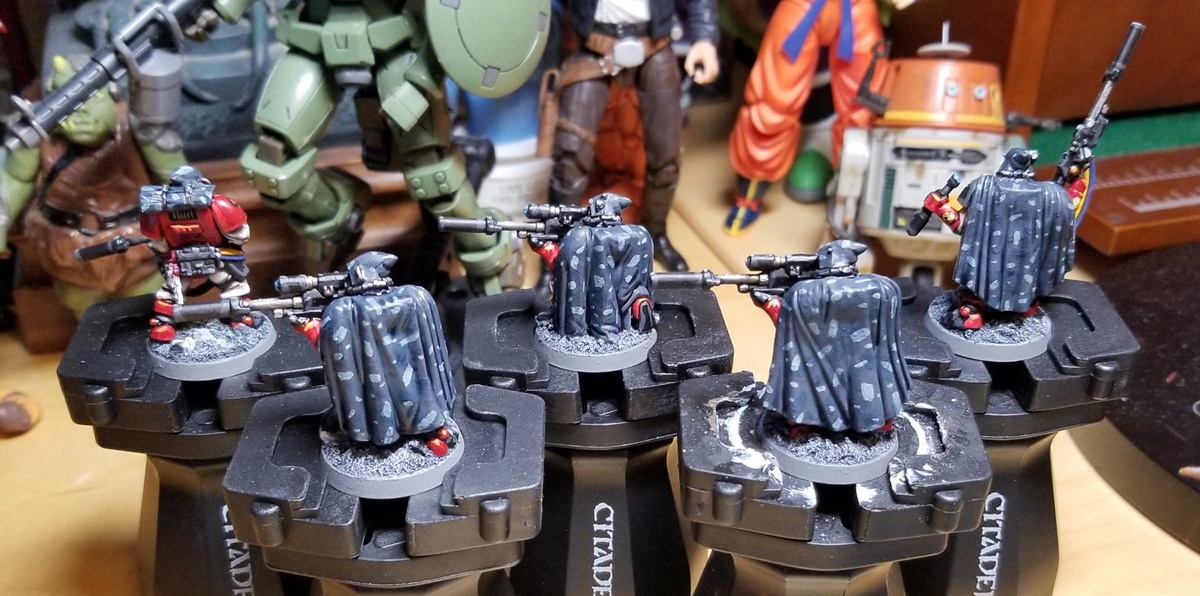
None can hide from Mephiston’s psychic gaze
Unrelated, bit I’m struggling a bit with the lightbox on these guys. It seems to be washing out some of their colors — or maybe it’s the auto-adjusting I’m doing in PhotoScape? Whatever the case, this photo in natural light showcases them more clearly to my eye (and you can see their red eye lenses, too!).
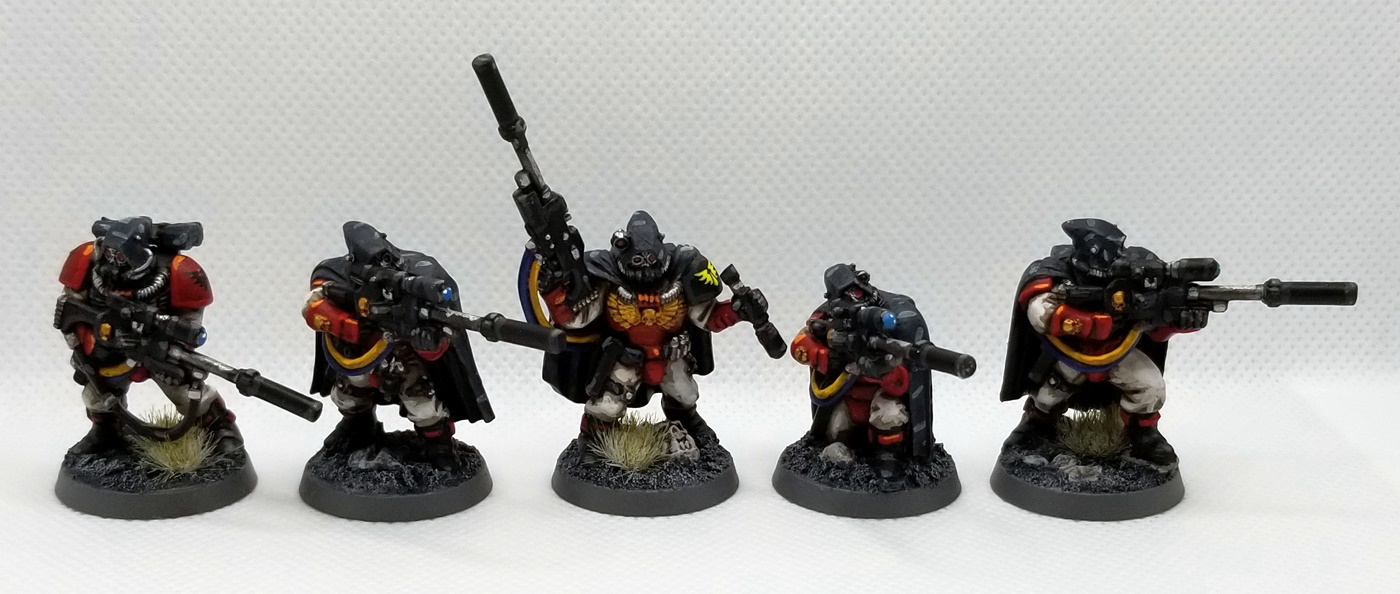
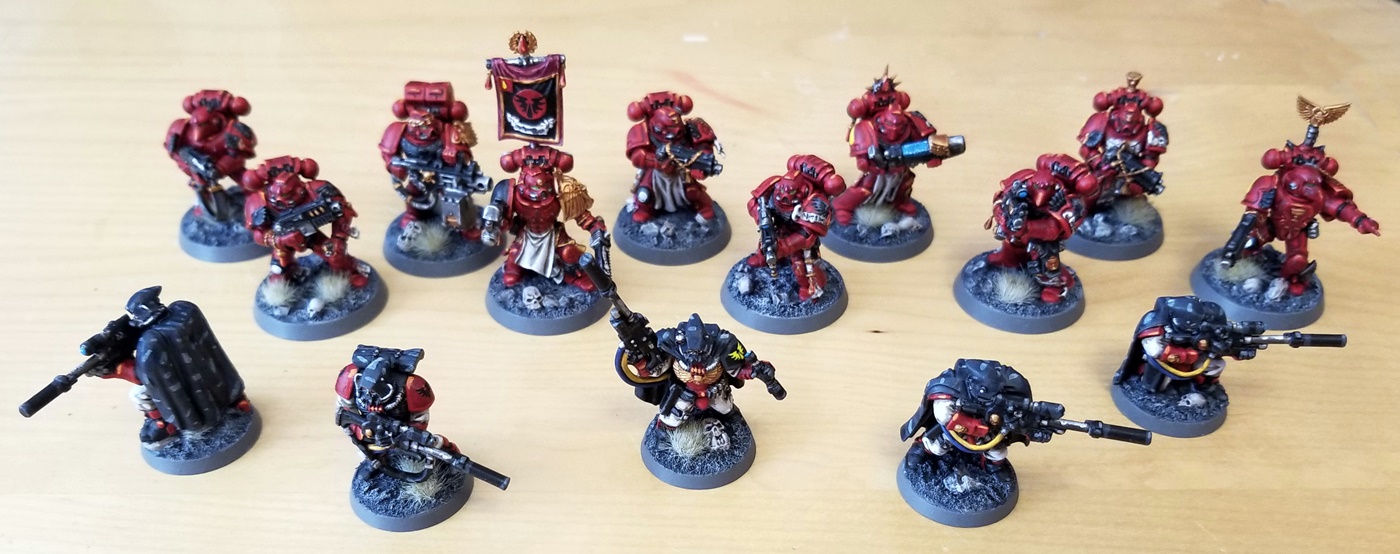
And while we’re here, why not a full “army” shot, too?
With Squad Cain finished, Narses is next. His base has been a lot of fun to work on, and I’m excited to paint his body.
Found your blog via an interest in DCC. Also enjoy miniatures painting. Don’t care about 40K but love your nearly daily updates. I thought the camo was kinda cool. You could have maybe touched it up by doing a ‘glaze’ technique but it’s time consuming. Can’t wait to see whats on the painting table next.
I’m painting my Gloomhaven miniatures, slowly.
Thanks for the tip, and I’m glad you’re enjoying the posting frenzy!
I’ve never tried glazes, but they’re on my growing list of techniques with which to experiment at some point.
I’d love to see pics of your Gloomhaven minis!