When I finished varnishing Squad Caedes on Friday night, I checked the weather and saw that the only day in the next two weeks that might be spray-paint friendly was Saturday, and sprang into action.
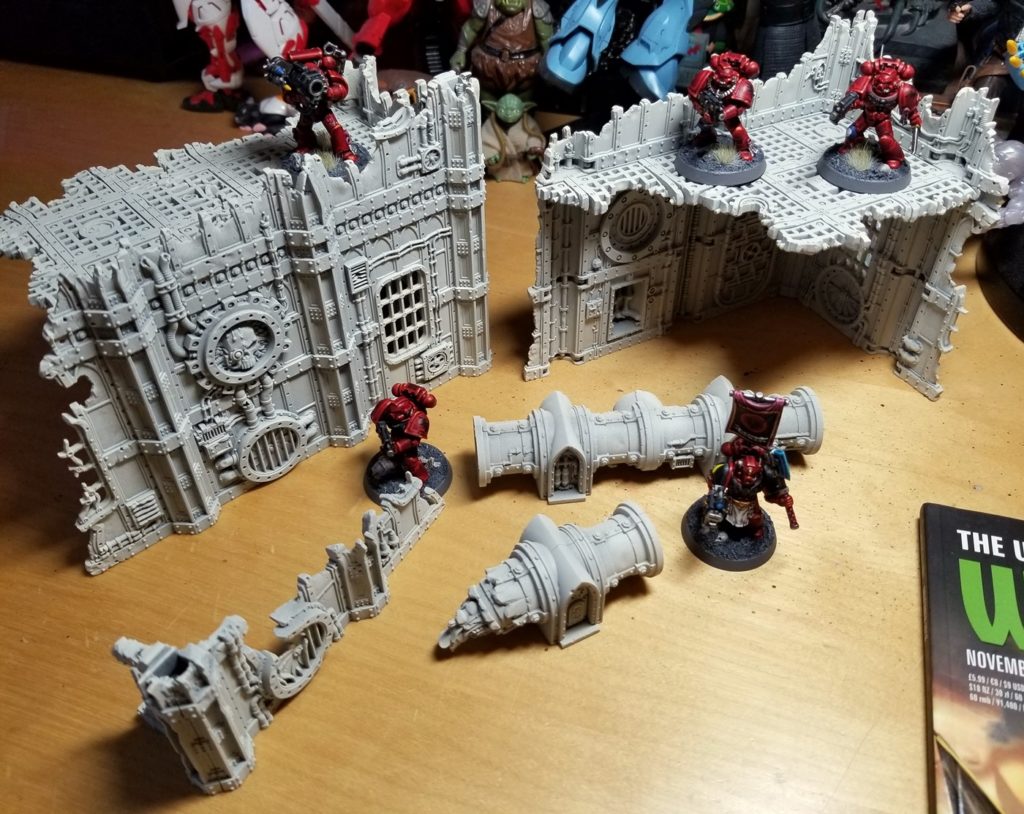
I built as much Manufactorum terrain as I could handle before bed, which turned out to be three pipes and two buildings.
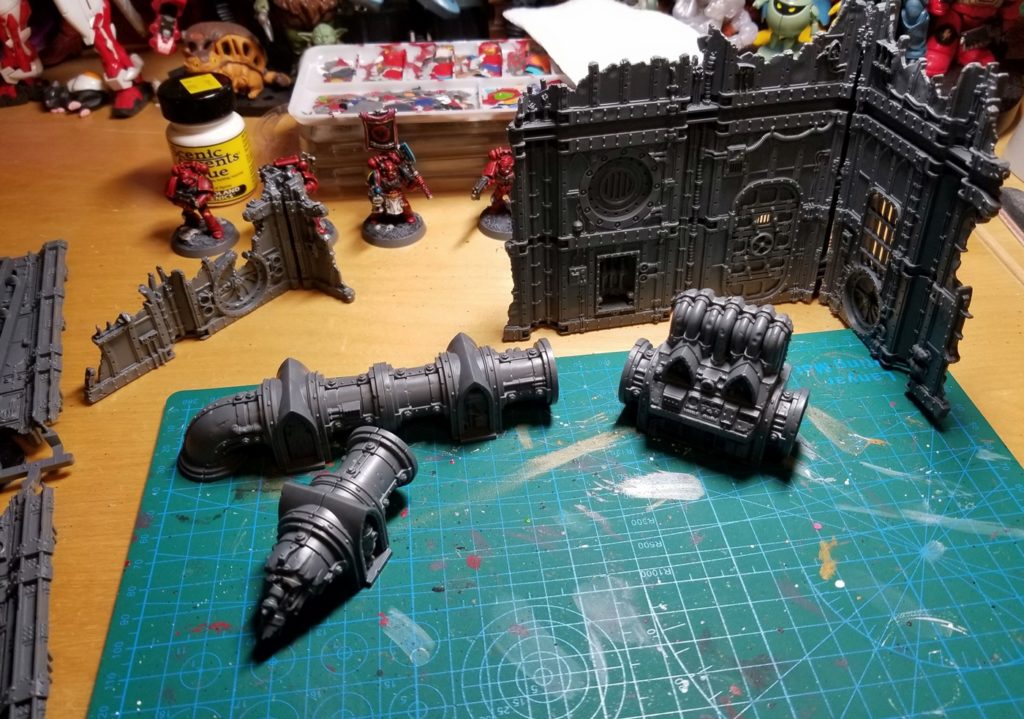
I’ve never built (or painted) terrain before, and I was surprised how cool the stuff in the Vertigus set is — although, in retrospect, I shouldn’t have been: GW is pricey, but they tend to nail it on sculpt quality, details, and feel. I cannot wait to see how this all looks when it’s painted up.
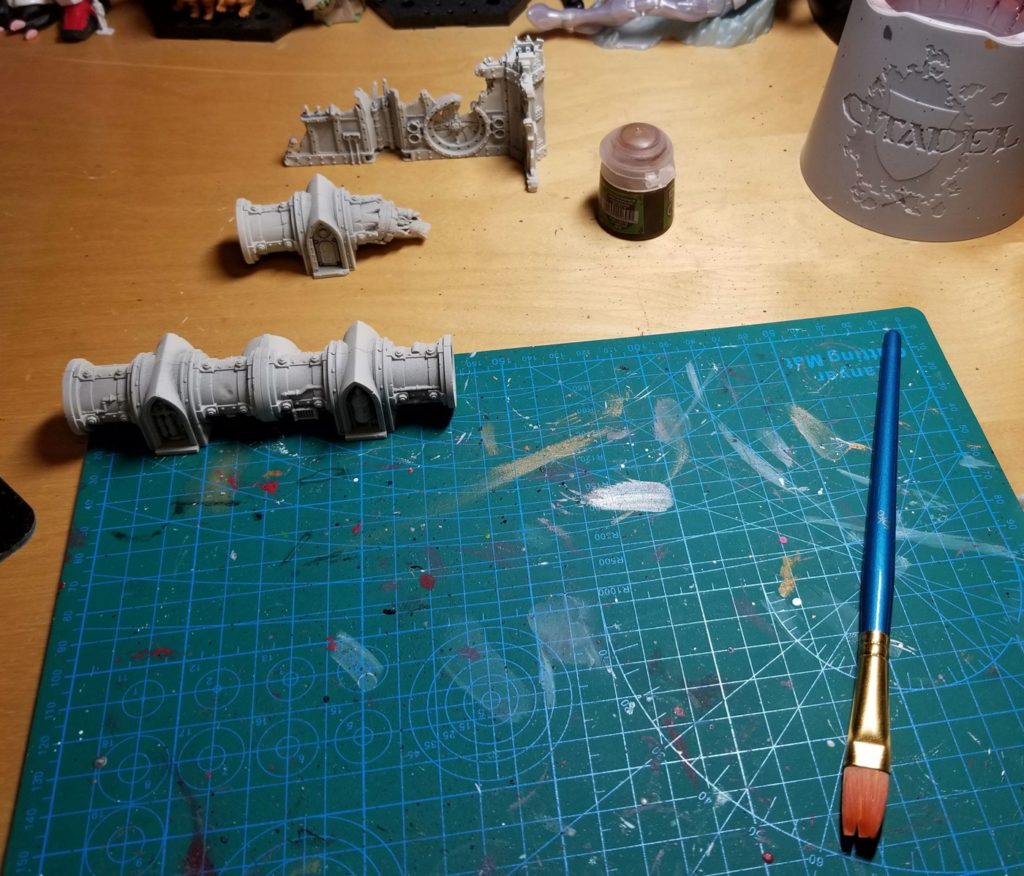
Next stop was an overnight glue-curing session (this stuff uses a lot of plastic glue), followed by checking the weather again on Saturday — and then shaking the everloving shit out of my can of Wraithbone spray and testing it out on a piece of sprue.
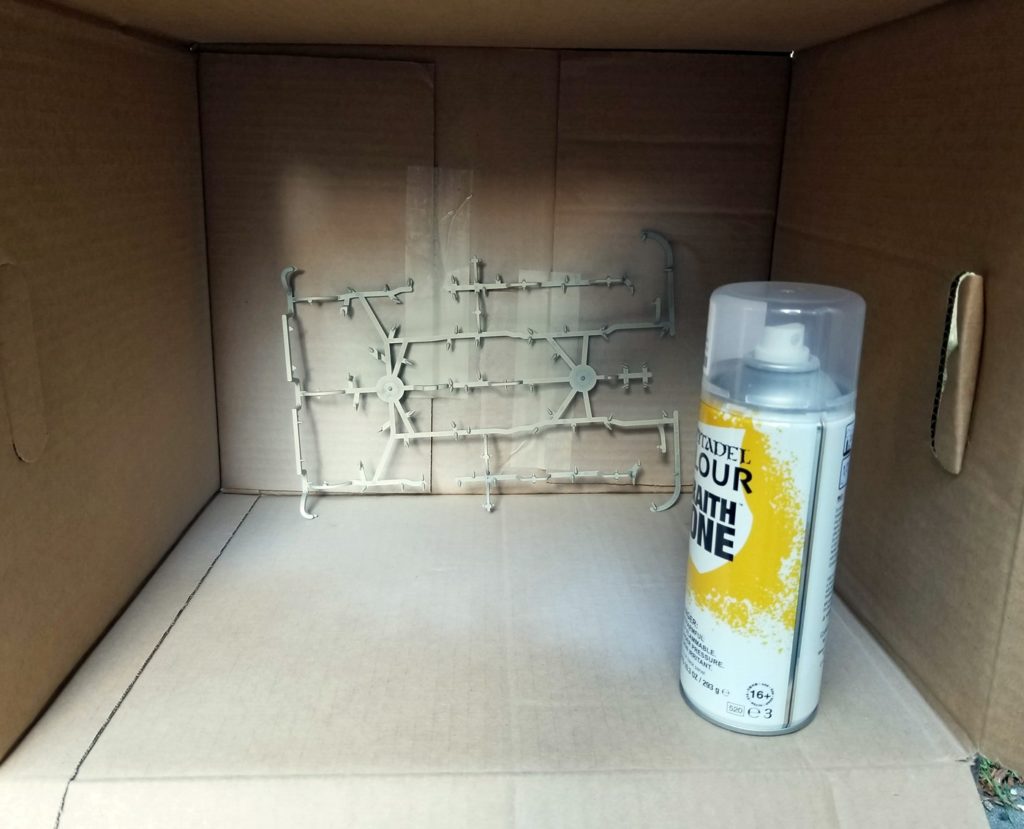
The instructions say that it shouldn’t be raining (check) and it should be at least 59 degrees Fahrenheit, but come Saturday 52 degrees was the best I could do. And in Seattle, in winter, having a temp over 50 and sun rather than rain is pretty special, so I figured it was worth expending a bit of paint on my test sprue and hoping for the best.
The verdict? This spray paint is great, and 52 and partly cloudy works just fine. It went on smooth, with no pebbling, and it’s a nice even coat. It genuinely seems to deliver on “primer and paint in one,” and as I’d heard it doesn’t seem to be Contrast Paint-specific in any way. I remember ruining minis at both the primer and sealant stages with spray paint in the past, so this is pretty exciting.
For comparison purposes, there’s a piece of bare sprue in the top right corner:
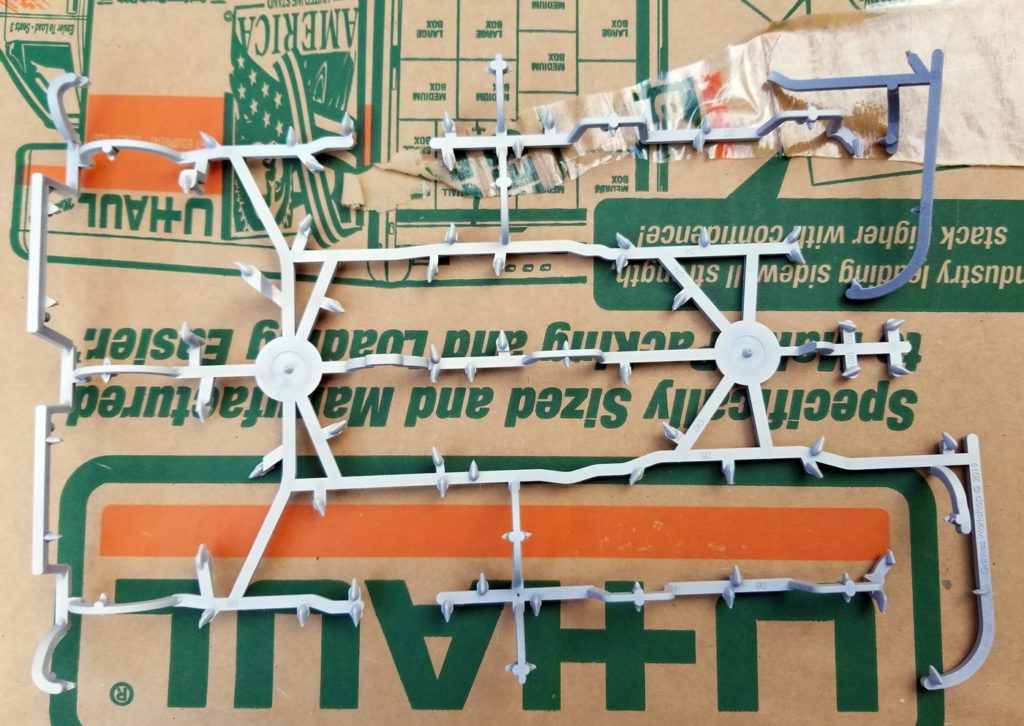
After another 2 minutes of can-shaking (always be religious about this!), I moved on to my actual terrain.
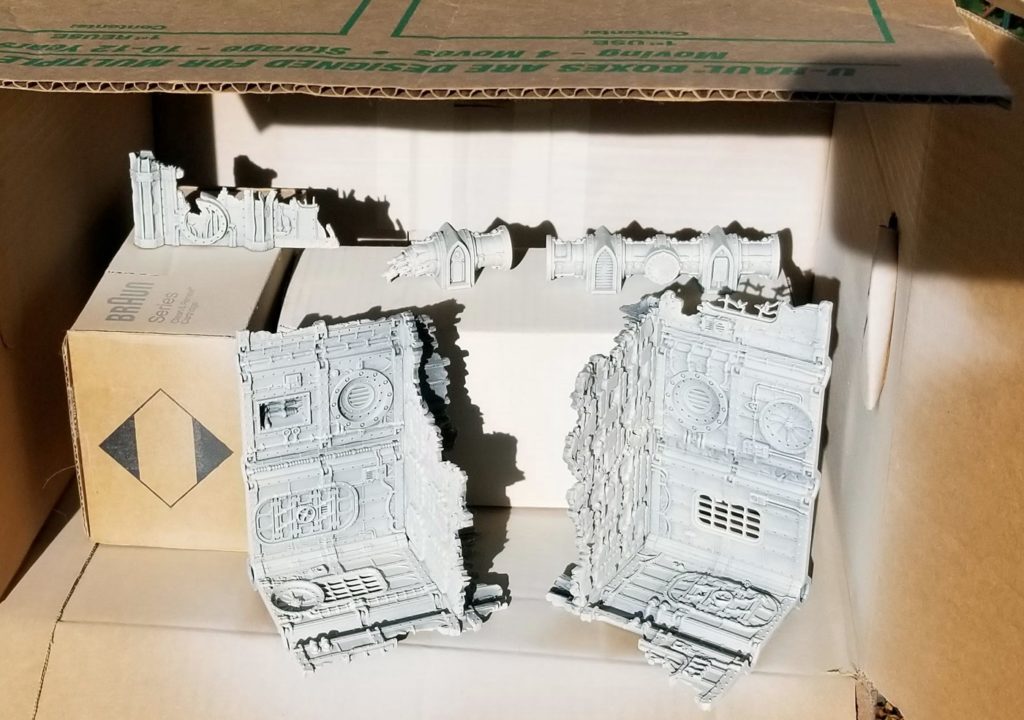
I don’t know if I’m going heavy on it, but it feels like two medium/large terrain pieces and four small ones ate up about 1/3 to 1/2 a can of Wraithbone. The time savings is incredible, though: Applying primer and then a base coat to these pieces would have taken me hours, whereas all of this took me about 75 minutes — and most of that was waiting for paint to be dry enough for me to turn the pieces, and then shaking the can again.
Next stop, a nearly all-over wash in Seraphim Sepia.
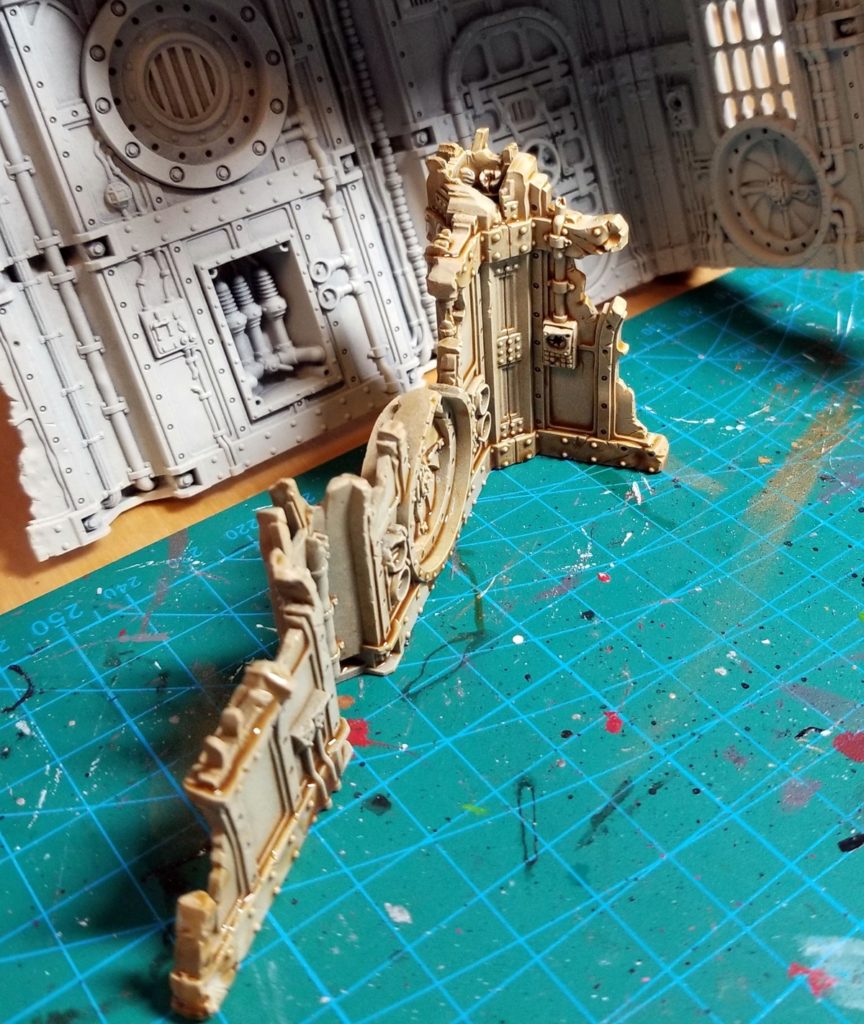
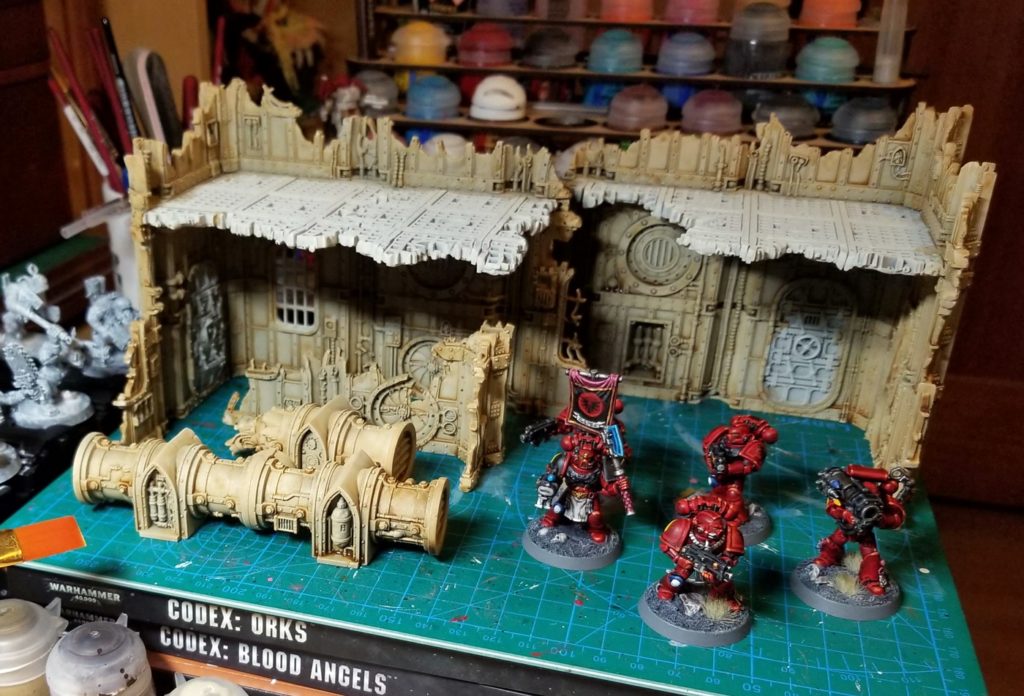
I love washes because they’re such a cheap date. Pound for pound, no other step breathes as much life into a miniature in so little time — and that appears to go double for terrain. I could already slap these on a table and not be sad, so I can’t wait to see how they turn out after drybrushing, spot painting, and weathering.
Unlike in my primary reference video for these pieces, a Warhammer TV how-to for Manufactorum terrain, I didn’t thin down my Seraphim Sepia at all. (They use Lahmian Medium in the video.) This approach is faster, and in my experience all-over washes always look quite dark until you highlight the model — and besides, I quite like the slightly darker tone of my buildings.
This approach has at least one downside, though: I used 2/3 of a bottle of Seraphim Sepia on two medium/large pieces and three small pieces. At that rate, I’ll need a couple more bottles just to get through the rest of the Vertigus box.
