
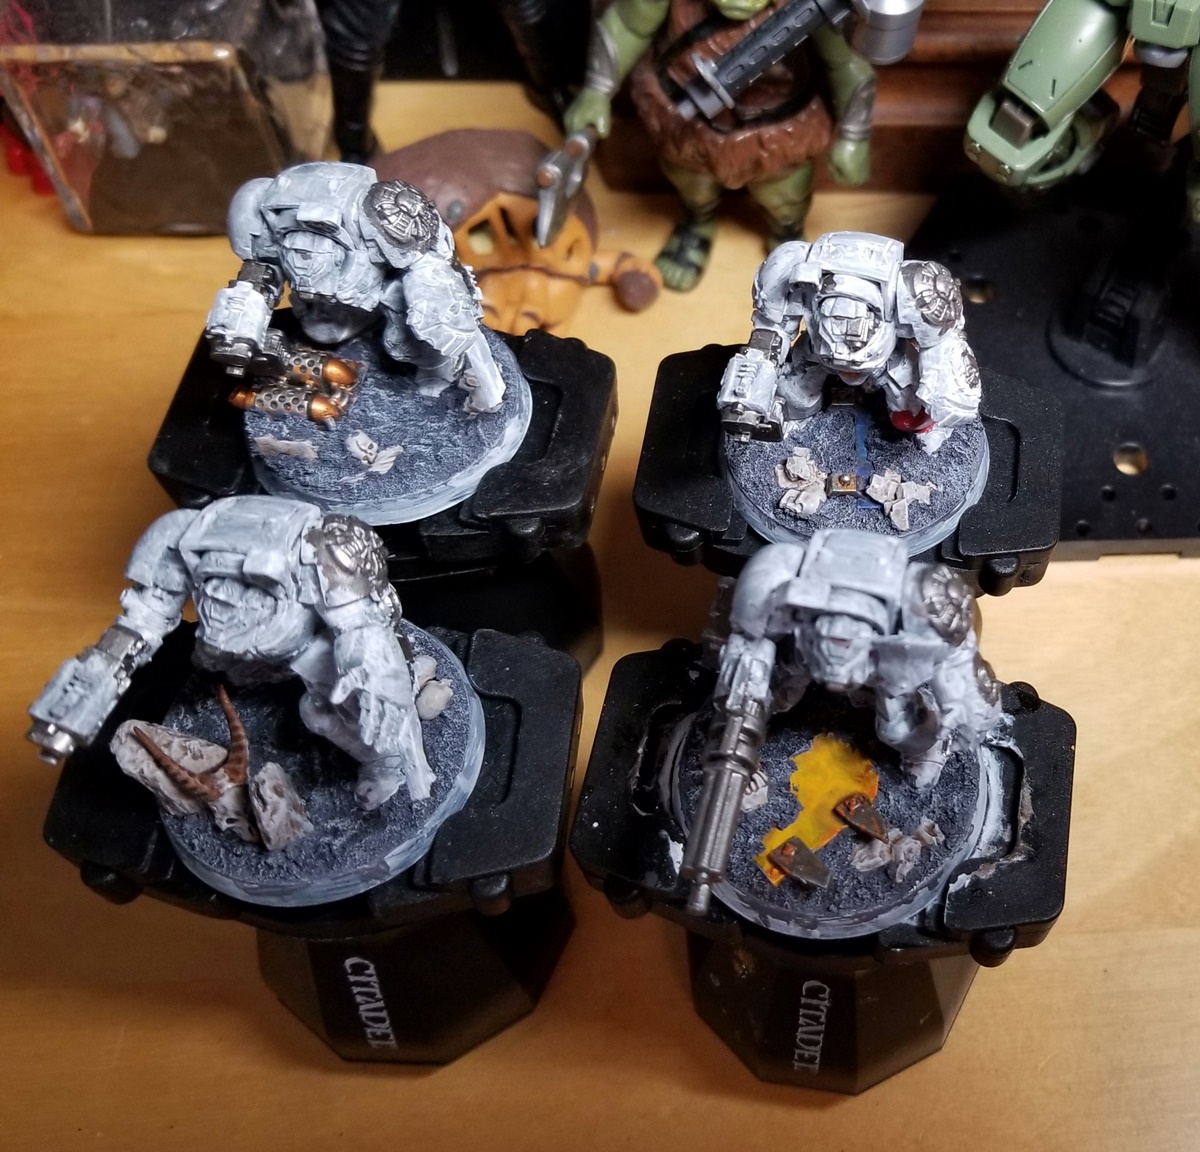
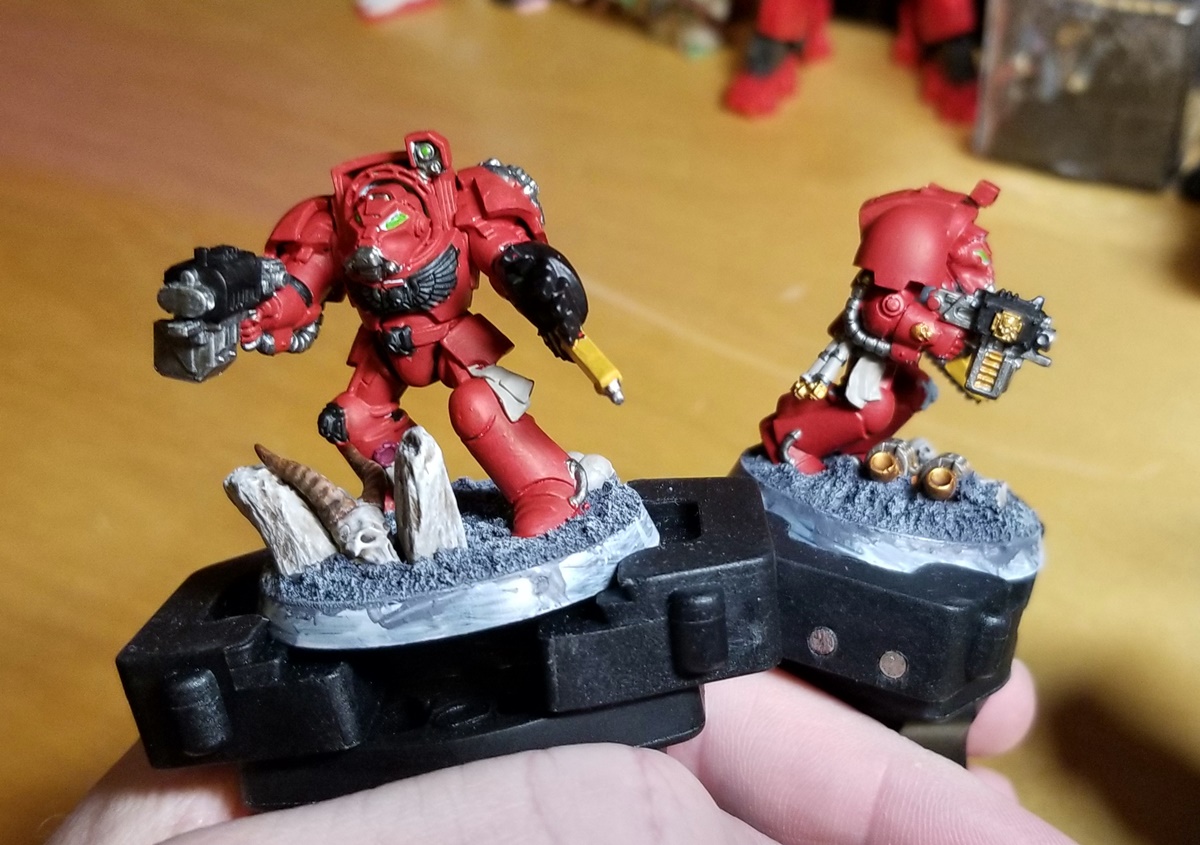
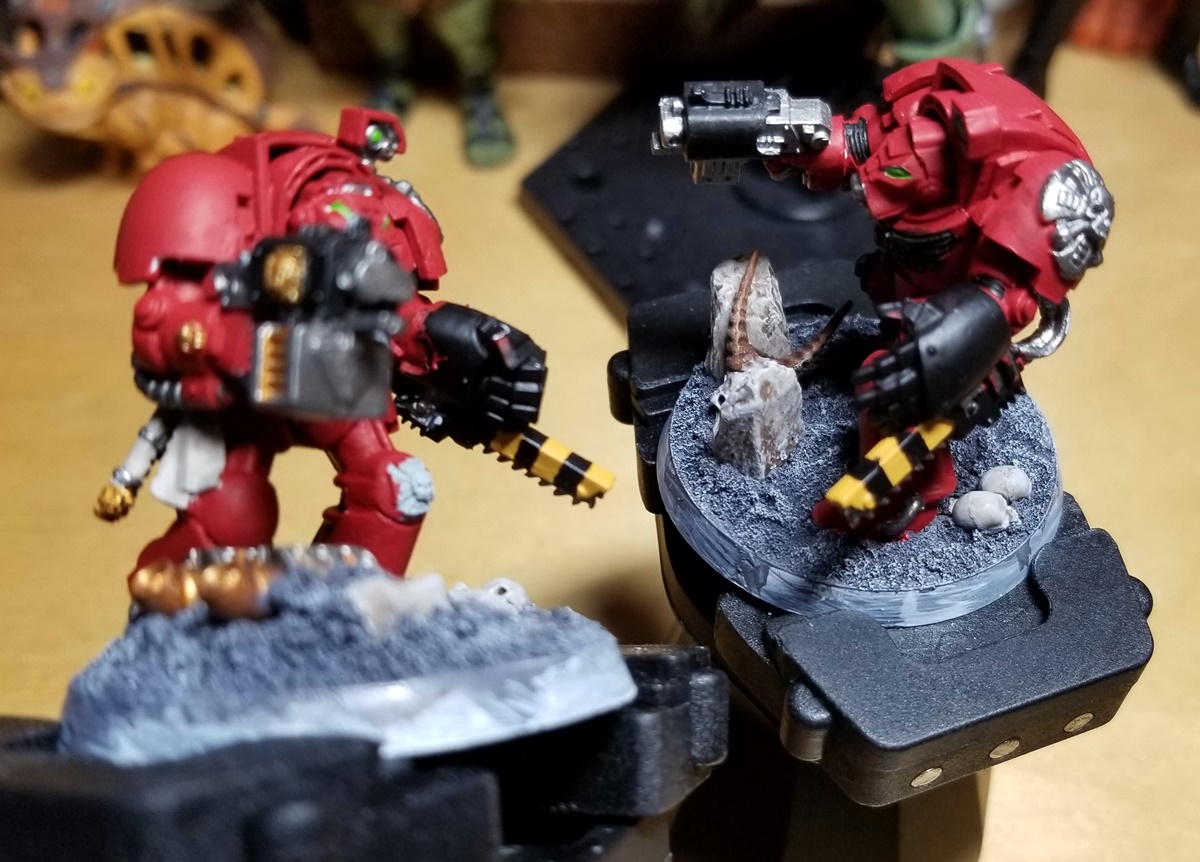
I’ve been making some progress on Squad Ultio, my shooty Terminators.
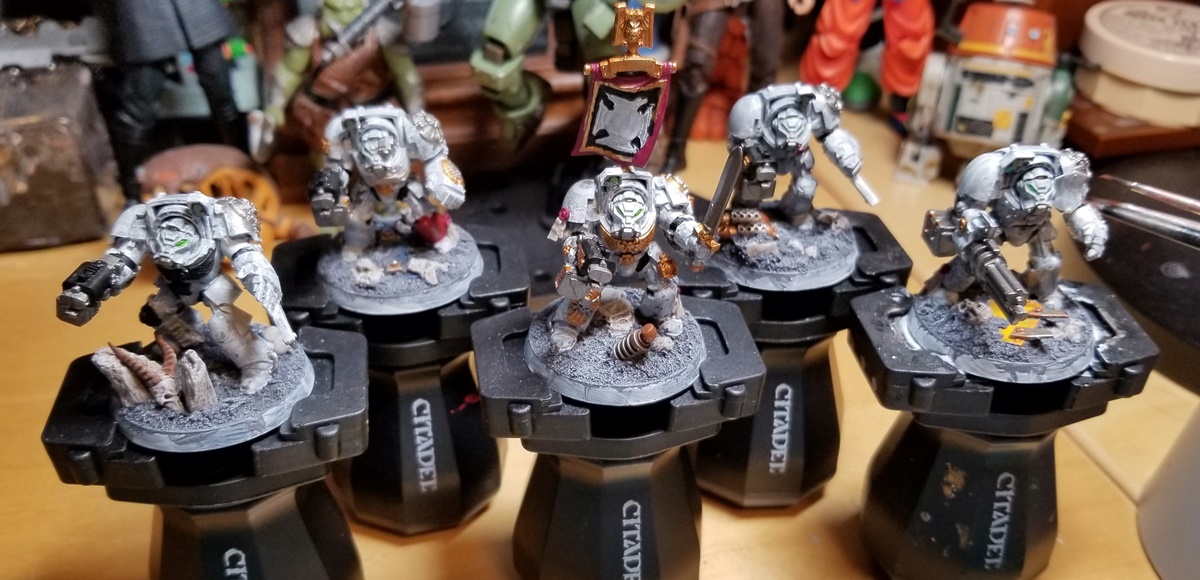
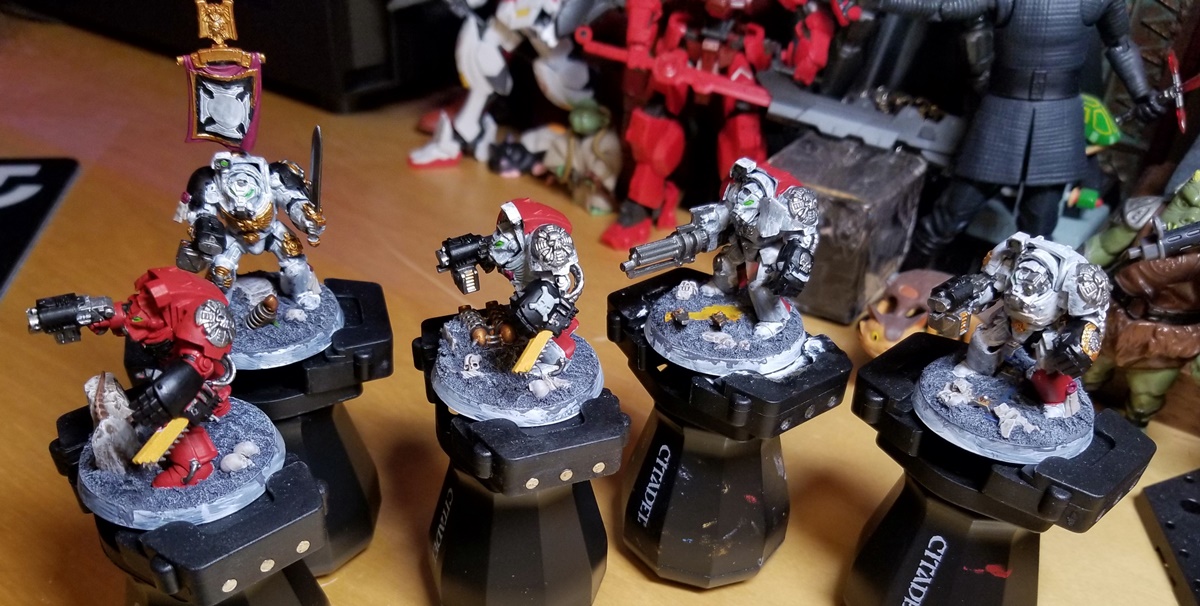
I decided that I’d lean into silver as their primary accent color, and unify them with silver Crux Terminatus emblems on their left shoulders. Sergeant Ultio is getting more gold, but with silver accents.
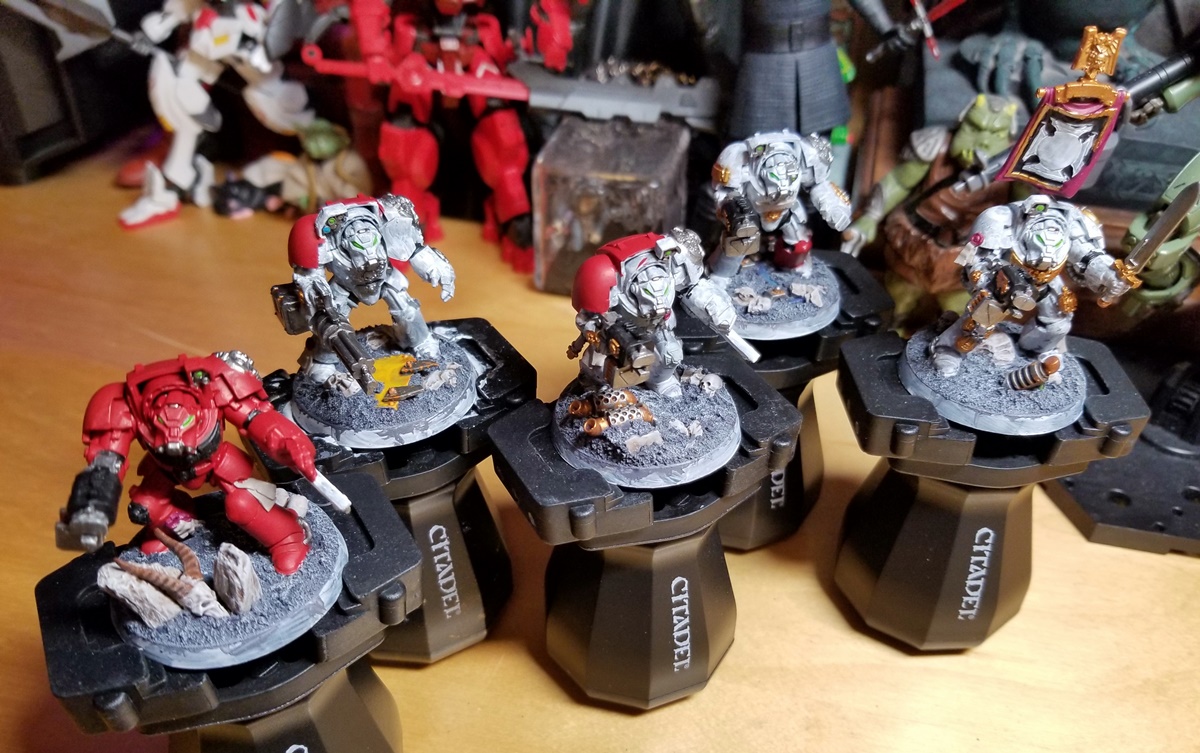
I used to start with the most prevalent color and work my way down to the small accent colors, but now I go in reverse. Once it hit me that, for example, the only way I can manage to paint the gold setting for a red gem on red armor is to hit it first — slopping over into what will be red areas — and then circle back with the red, carefully painting right up to the gold, I realized many accents could be painted better and quicker that way.
Reaching the point where what’s left is “just” the red takes some time — probably about two hours, maybe 2.5, for this squad. The red will likely take longer, but blocking that in somehow feels more manageable when I’m down to only one color.
I almost forgot to give them all black left fists (except the sergeant). I know that — like just about all details of chapter paint schemes — that’s optional (and not universal over the past decades of studio paint jobs), but I like it. It gives them a different presence and energy.
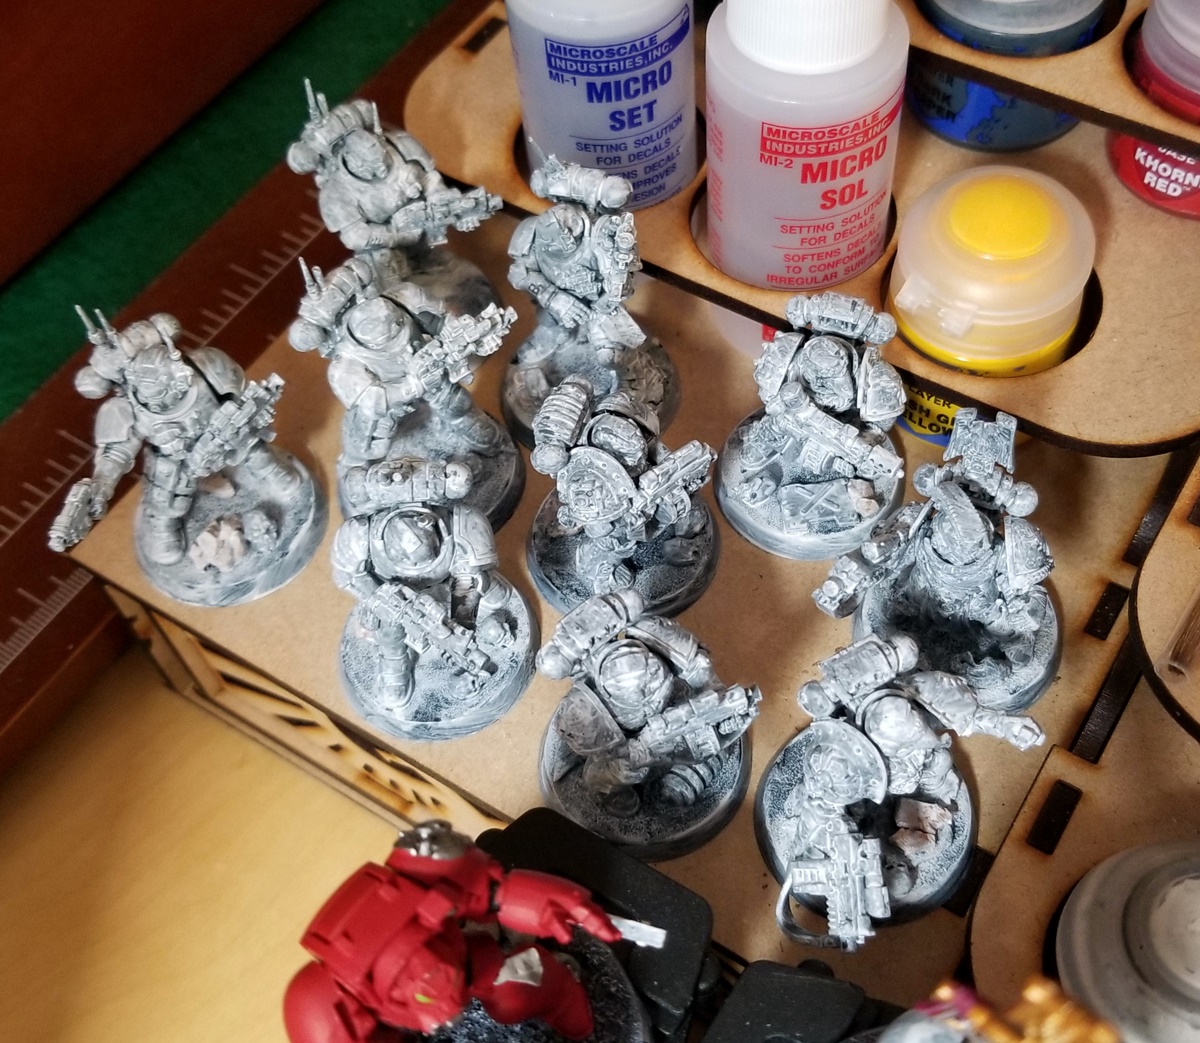
Warmed up from some quick basing work (on Squads Amedeo and Dolos), and with a bit of momentum built up, I managed to get two more Termies base-coated on Sunday night. That left about another 90 minutes of base-coating, followed by a couple hours of touch-ups and detail work, before I could move on to shading.
Priming speed
It took me 12 minutes per figure to prime Squad Ultio, but since I don’t love priming I’ve been looking for ways to reduce that time without sacrificing quality. On Sunday I consciously employed a loose, light, feathering stroke — and blasted out Squads Amedeo (Sternguard) and Dolos (Infilitrators) in 45 minutes, or 4.5 minutes/figure.
That leaves just my Rhino, Relentless, and a squad of Sanguinary Guard to prime so I can paint them in May.
Hazard stripes
I want to do yellow/black hazard stripes on the two Chain Fists in this squad, and I bought some 2mm and 3mm Vallejo hobby tape for that purpose — but every time I look at those tiny chainsaw housings, which wrap around on three sides, I question my ability to actually do it.
But fuck it, I’m going for it. Colors are Averland Sunset/Abaddon Black. (The rest of these guys just follow my usual Blood Angels colors, no surprises in their recipes.)
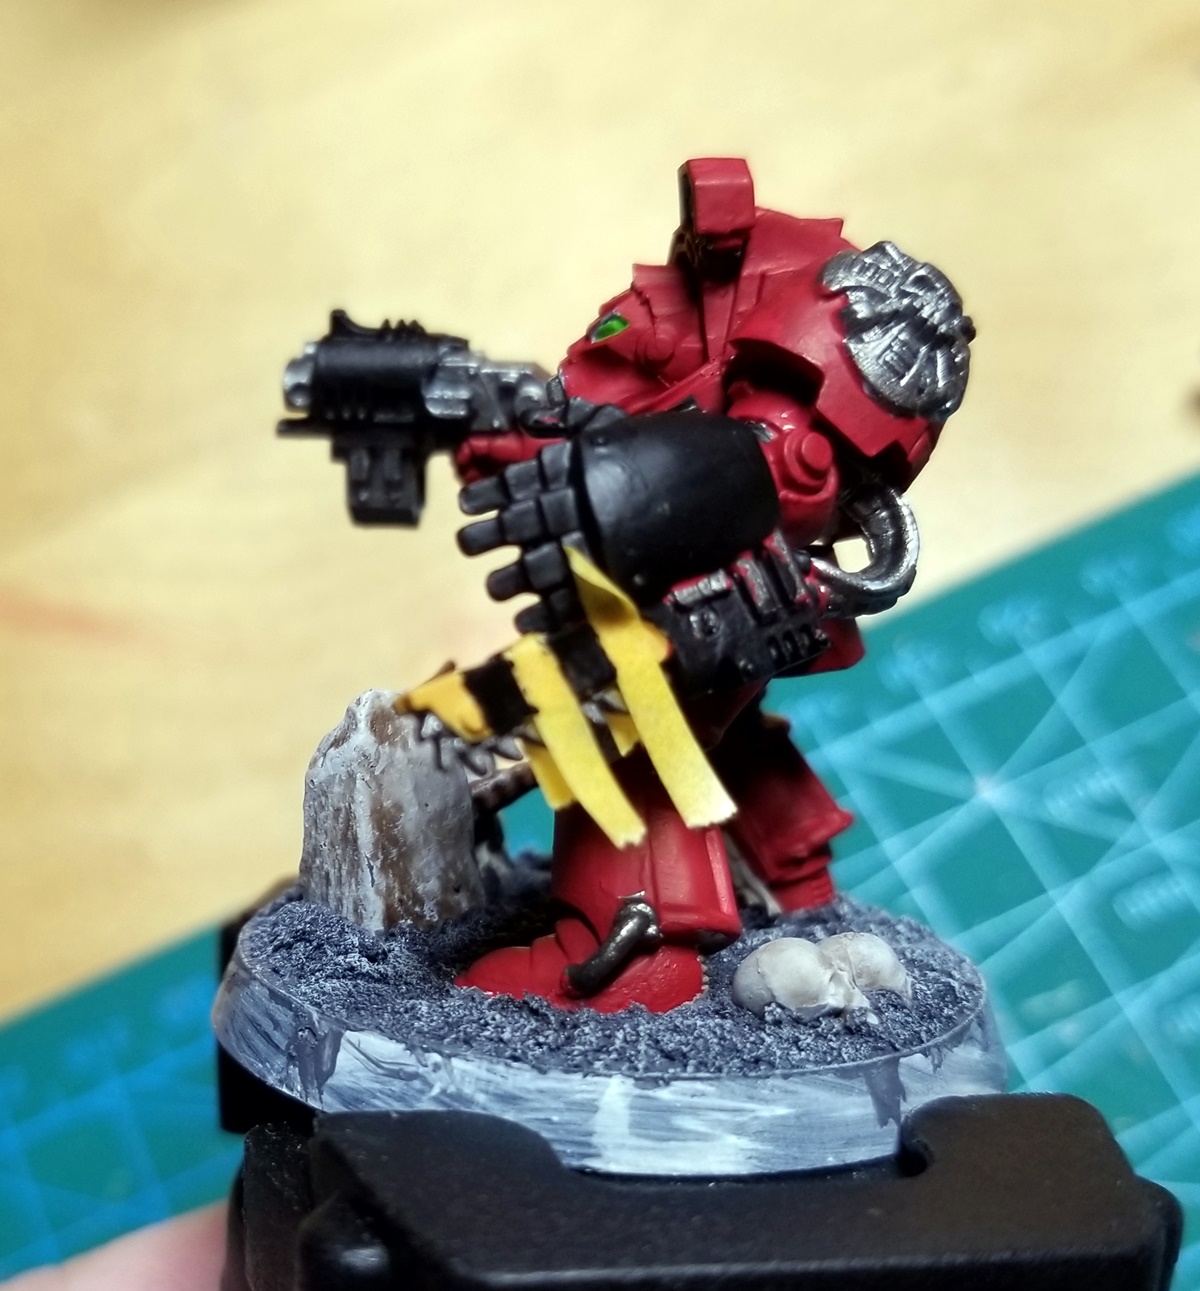
Step 1: paint the housings Averland Sunset, two thin coats for even coverage.
Step 2 was going to be “apply diagonal strips of tape” until I actually tried that and physics disagreed:

Step 2: apply vertical strips of 2mm Vallejo tape, edge to edge with no gaps (to ensure even spacing).
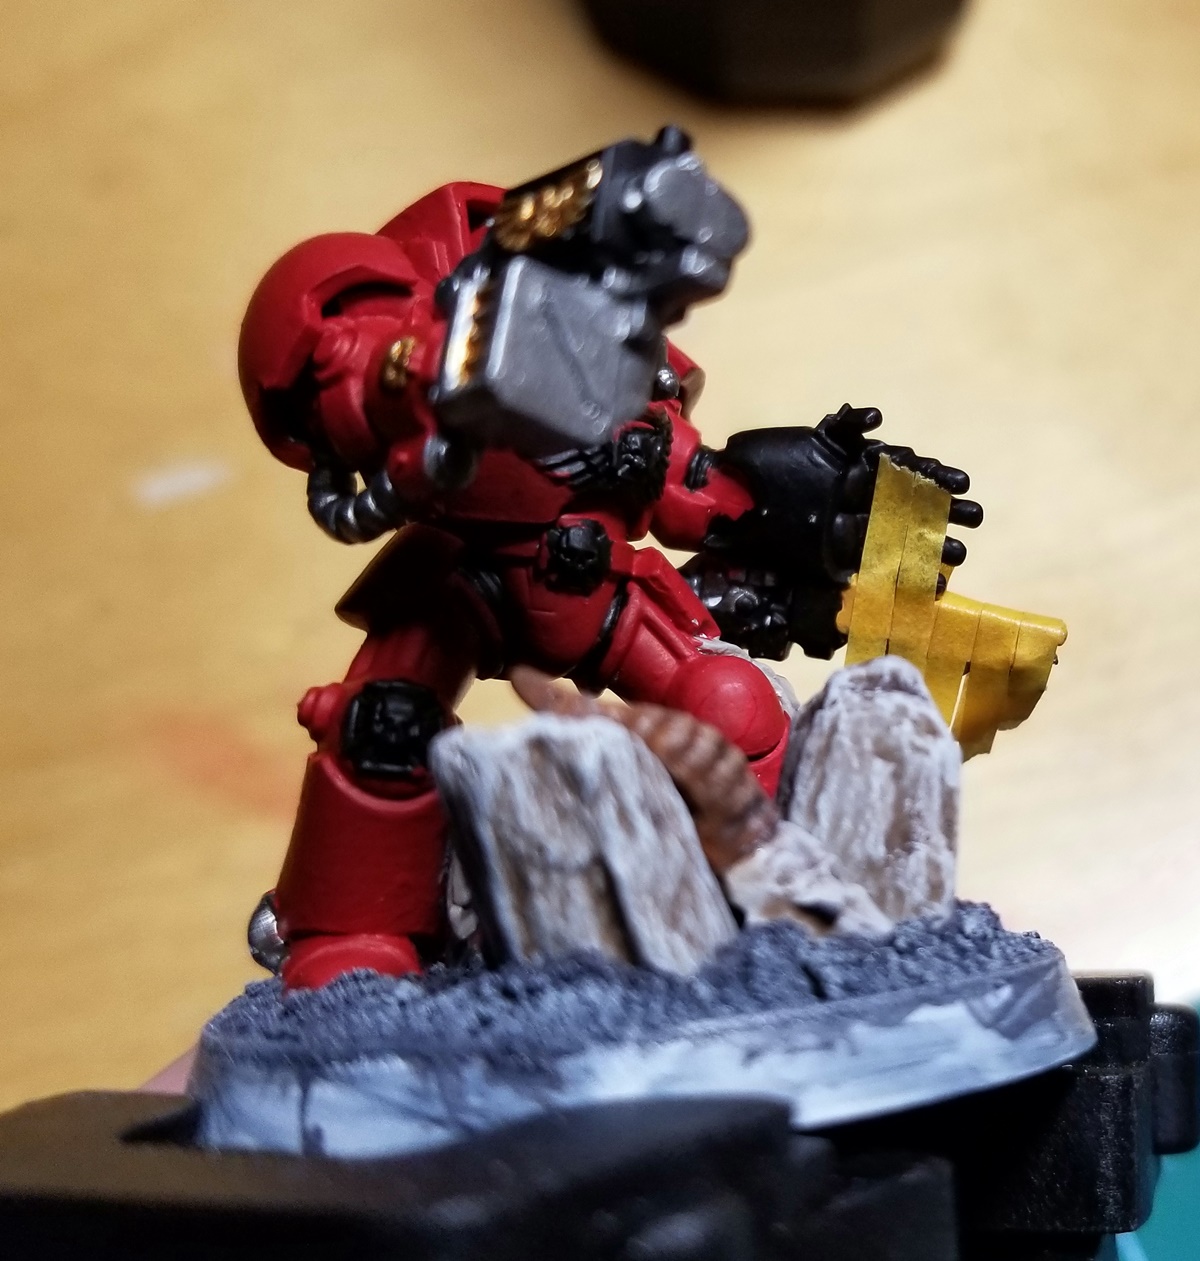
Optionally, at this stage you can feel free to question the judgment and moral character of the dingus who decided to put a big rock right in front of this Chain Fist.
Step 3: remove every other strip of tape.

Step 4: paint the exposed yellow portions Abaddon Black.
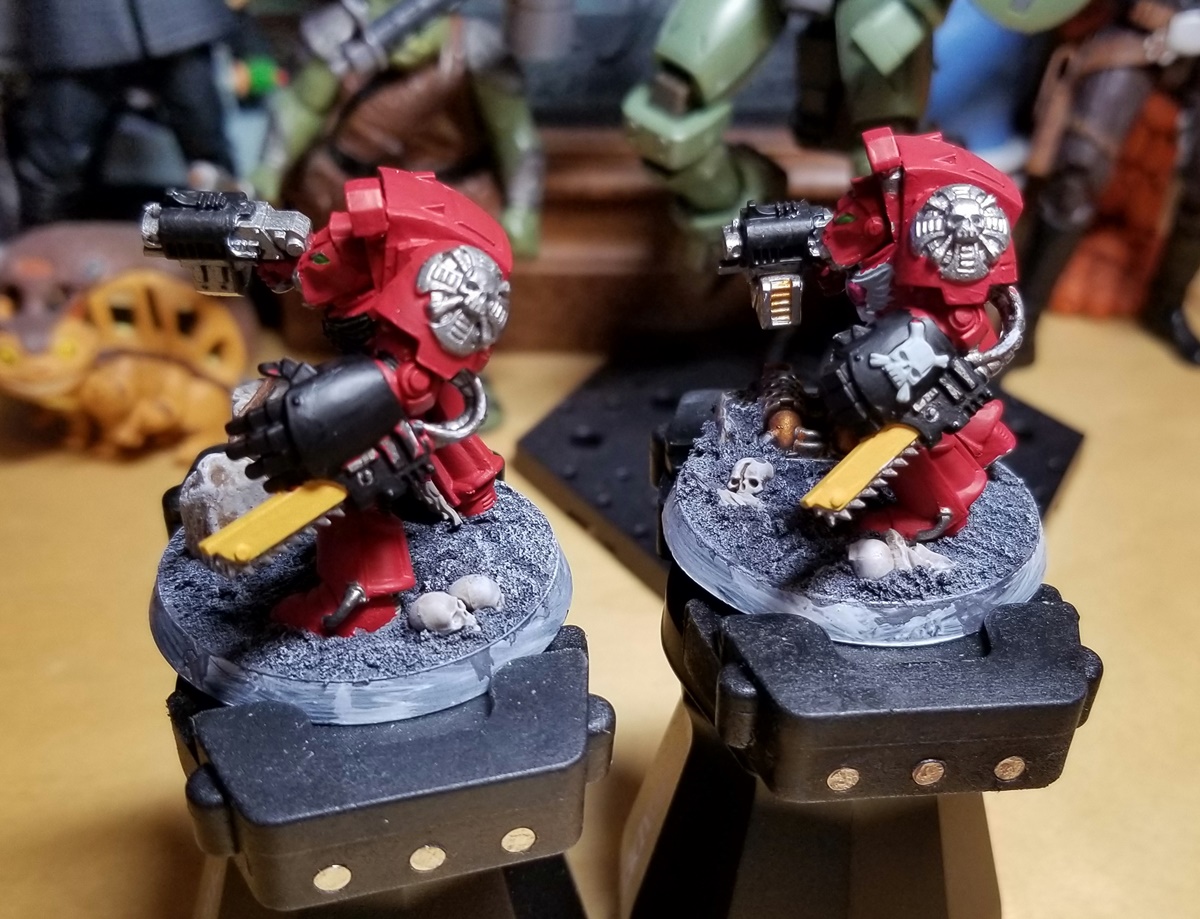
Step 5: remove the remaining strips of tape. Ta-da! Hazard stripes.
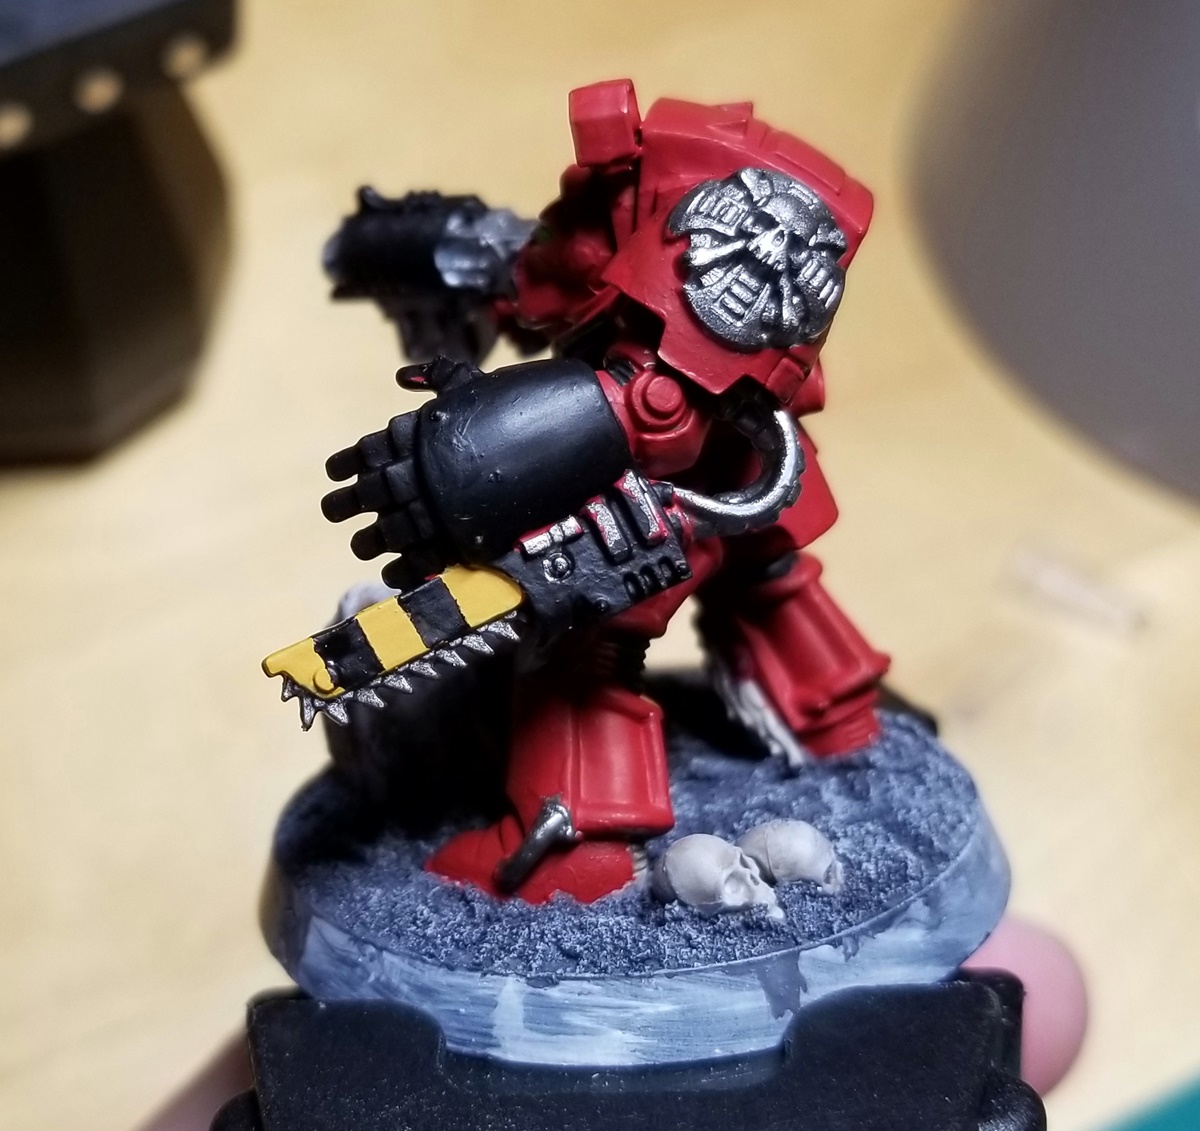
Not, I hasten to add, amazing hazard stripes — but better than I could freehand, especially as they wrap evenly around the housing, and easily touched up during the next step of my painting process.
For true old-school Terminators I should have hazard-striped the Fist itself, not the saw housing, and then painted John Blanche’s face freehand on top of the stripe pattern . . . but these will have to do.