
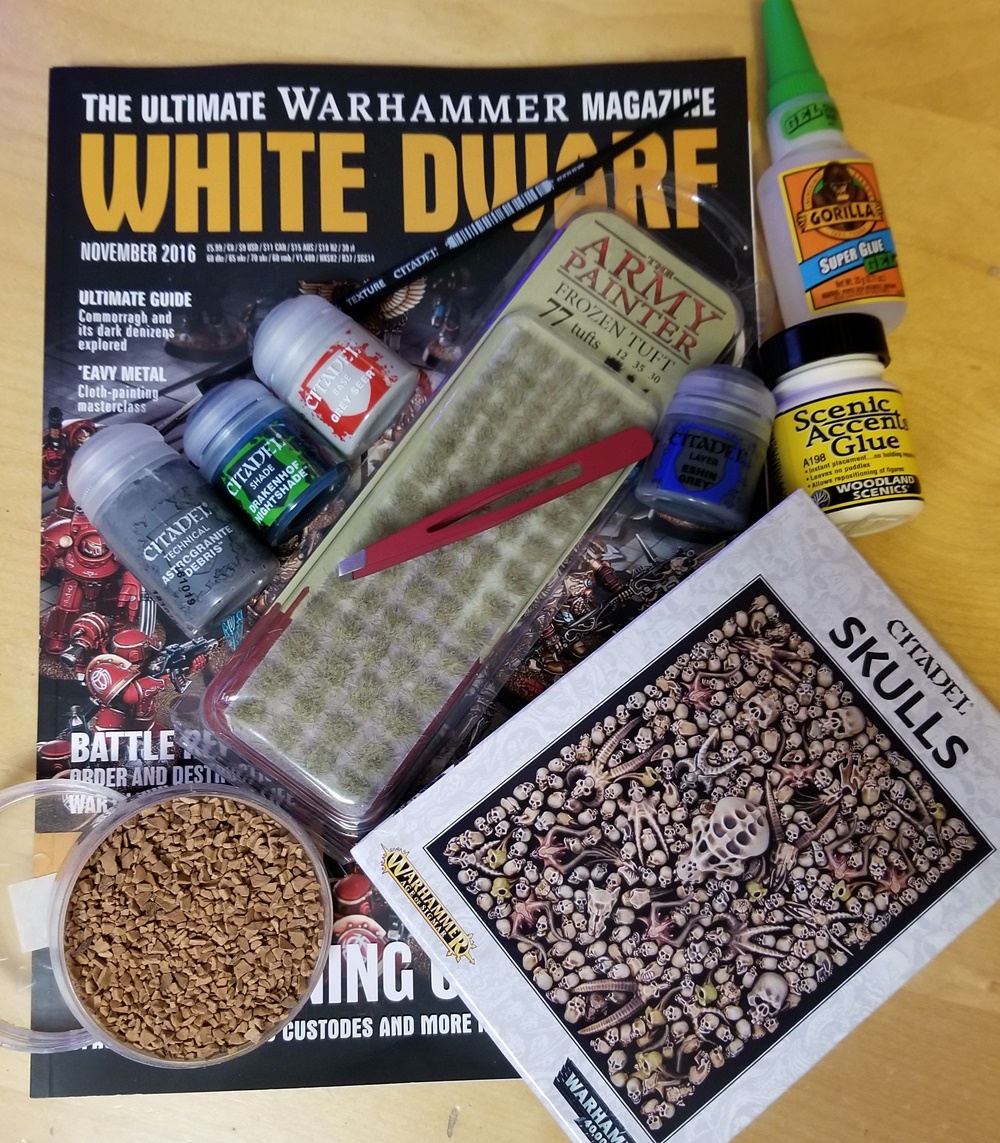
I’ve got a basing recipe in mind for my Blood Angels army, and now I have all the components:
The basic concept is “plains of Armageddon” (an important planet in the 40k universe), which conjures up a sort of Moonscape in my mind — a wasteland of heavy gray dust and dying grass, site of a thousand battles.
This is a spin on my preliminary idea, which I posted about last week, now organized a bit more:
- White Dwarf 161 (Nov. 2016) for its Paint Splatter column, which features the Basing Cookbook
- This winters SEO video on using texture paints
- Texture: Astrogranite Debris
- Wash: Drakenhof Nightshade
- Drybrush: Grey Seer
- Base edge: Eshin Grey (or maybe Mechanicus Standard Grey? not sure yet)
- Citadel Skulls (paid link) for clutter
- Gale Force Nine Rocky Basing Grit
- Army Painter Frozen Tufts for grass
- Blunt tweezers for applying tufts
- Citadel Texture Spreader (paid link) for the texture paint
- White glue for tufts
- Superglue for rocks
I also have Citadel plastic glue (for skulls) and appropriate wash and drybrush brushes.
As an aside, that box of skulls sounded pretty silly until I got a good look at its contents online.
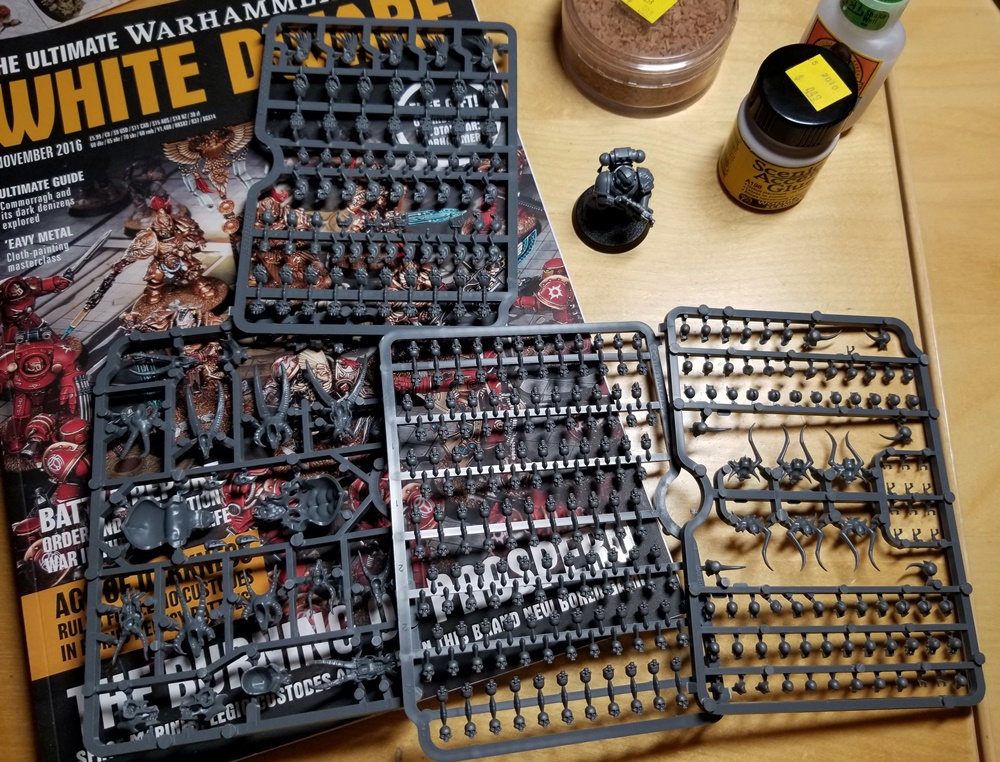
They’re to scale, modeled to GW’s usual high quality, and staggering in their variety: small, large, different species, fresh, half-destroyed, just jawbones, etc. It’s a really cool box of skulls.
Okay, back to the base itself. A deep gray base with dark blue notes sounds like it will contrast really well with my predominantly red miniatures, while also not being too similar to the predominantly black figures (Death Company, Chaplain, etc.). Green is too cheery, brown sounds easy to mess up and wind up with the plains of Poopageddon, and snow is both too Christmas-like with red Marines and — if applied badly — can look like the floor of a porno theater.
Step 1: cut a hole in the box
There are a million schools of thought on how to base, when to do the base vs. the miniature itself, etc. — basically (hah!) every aspect of this process. I just need to start somewhere, so I’ll be trying this route:
- Assemble the model and glue it to the base
- Glue on rocks and skulls to suit
- Prime the whole thing white, mini and base
- Paint the rocks/skulls/etc., including wash and drybrush
- Apply texture paint with the spreader
- Wash and drybrush the texture paint
- Wipe the base edge clean before it dries
- Paint the miniature
- Touch everything up as needed
- Paint the edge of the base
- Varnish the whole thing, mini and base
- Glue on tufts
In that winters SEO video, he glues the rocks to the texture paint before it dries, rather than to the base itself prior to applying paint. I’m doing it this way so I can get primer on my rocks and skulls, rather than painting them separately and then adding them to the base.
Sitting here writing this, I feel like I’m writing a post partly to avoid taking a step that makes me a bit nervous and actually basing a miniature. So I’m going to stop writing and go do that.