
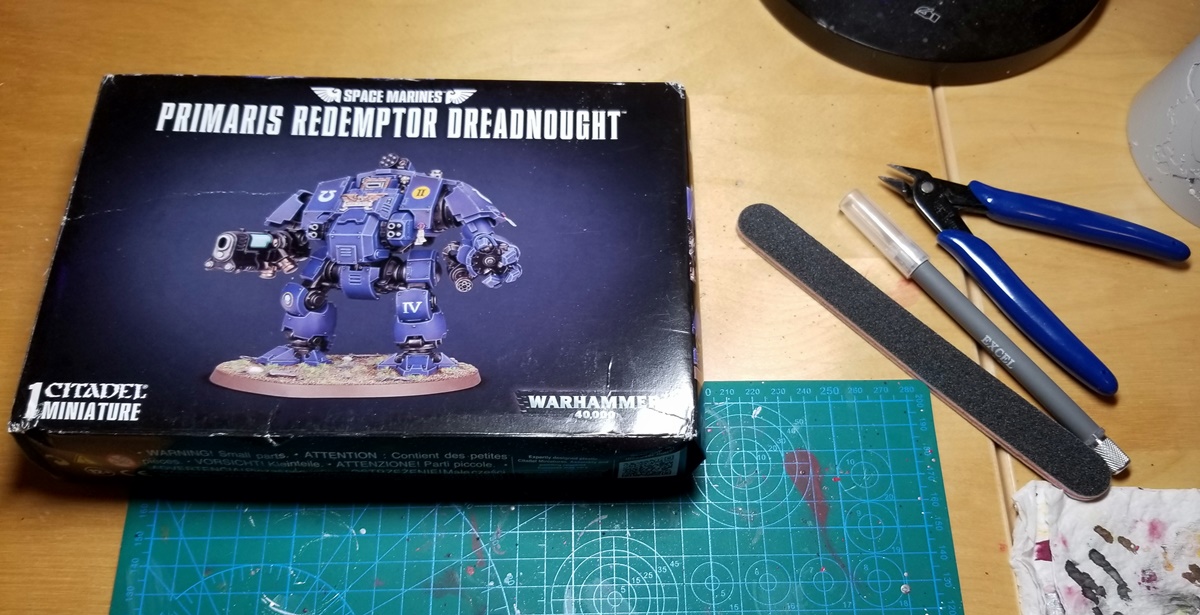
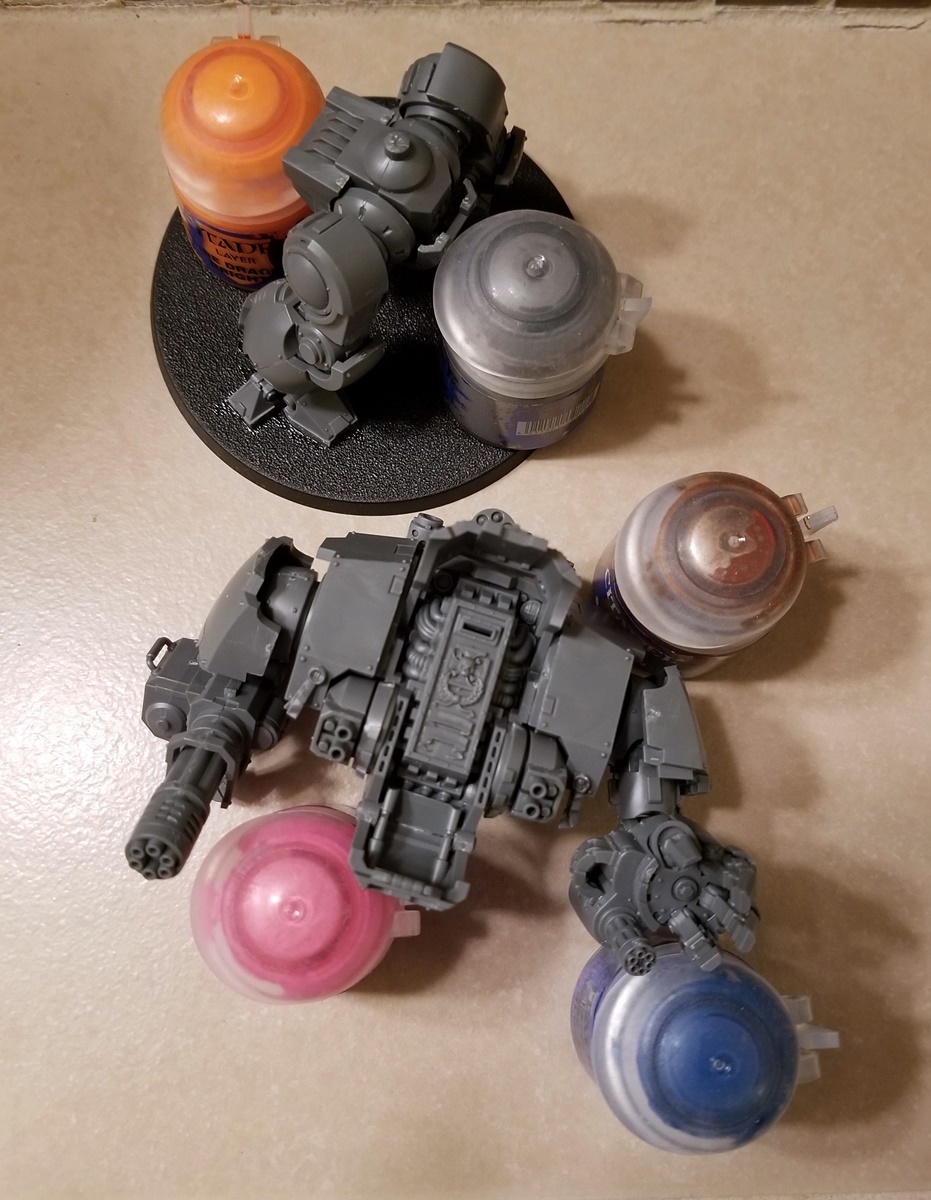
Thus far I’ve held strong on my plan to not work on any minis outside/beyond my initial 2,000-point army, but lately I just haven’t been in the mood to paint — and when I don’t want to paint, I assemble. So I’ve started on my first post-army mini: Feo, my first Primaris Redemptor Dreadnought.

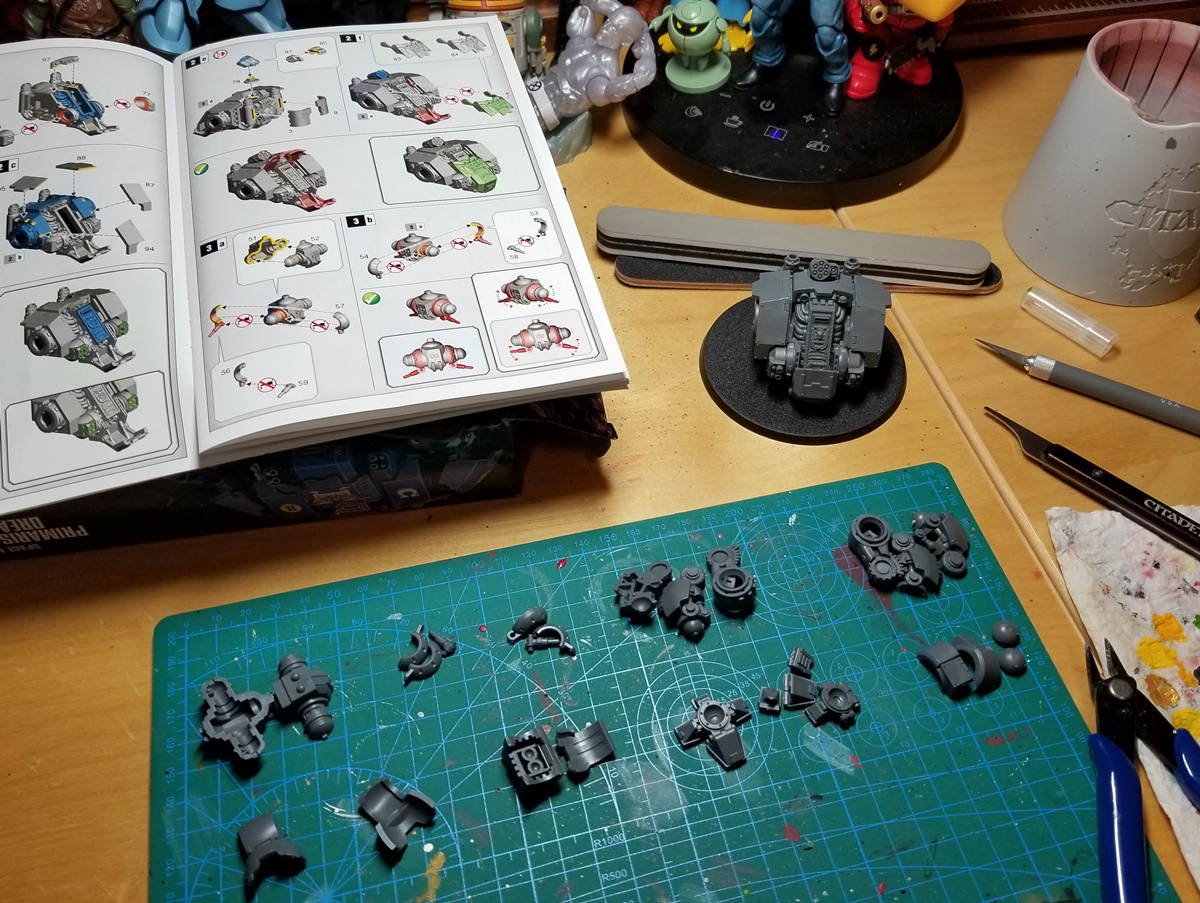
This kit has a ton of movable parts on it: the sarcophagus armor opens and closes, shoulder joints rotate and move laterally, elbows and wrists move, and the front guns rotate. But as with most GW kits I’ve built, I ran into two issues: either the joint was loose, which doesn’t appeal to me for a mini I’m going to transport and use in play, or I couldn’t figure out how to paint the part fully while retaining its ability to move.
Unlike the smaller OG dreadnoughts, even the shoulder rotation comes with built-in complexity: a keyed joint rather than a simple press-fit peg, and huge armor plates that all but prevent arm removal once installed. Seeing that made my course pretty clear. As I’ve done before, I treated all those glorious movable parts as posable parts.
After finding a pose I liked — a lengthy process given the size and posability of the figure — I glued everything in place. The only exceptions are the waist (until he’s mostly painted) and the mount for the primary weapon, which is a nice snug joint and gives me the flexibility of switching Feo to plasma.
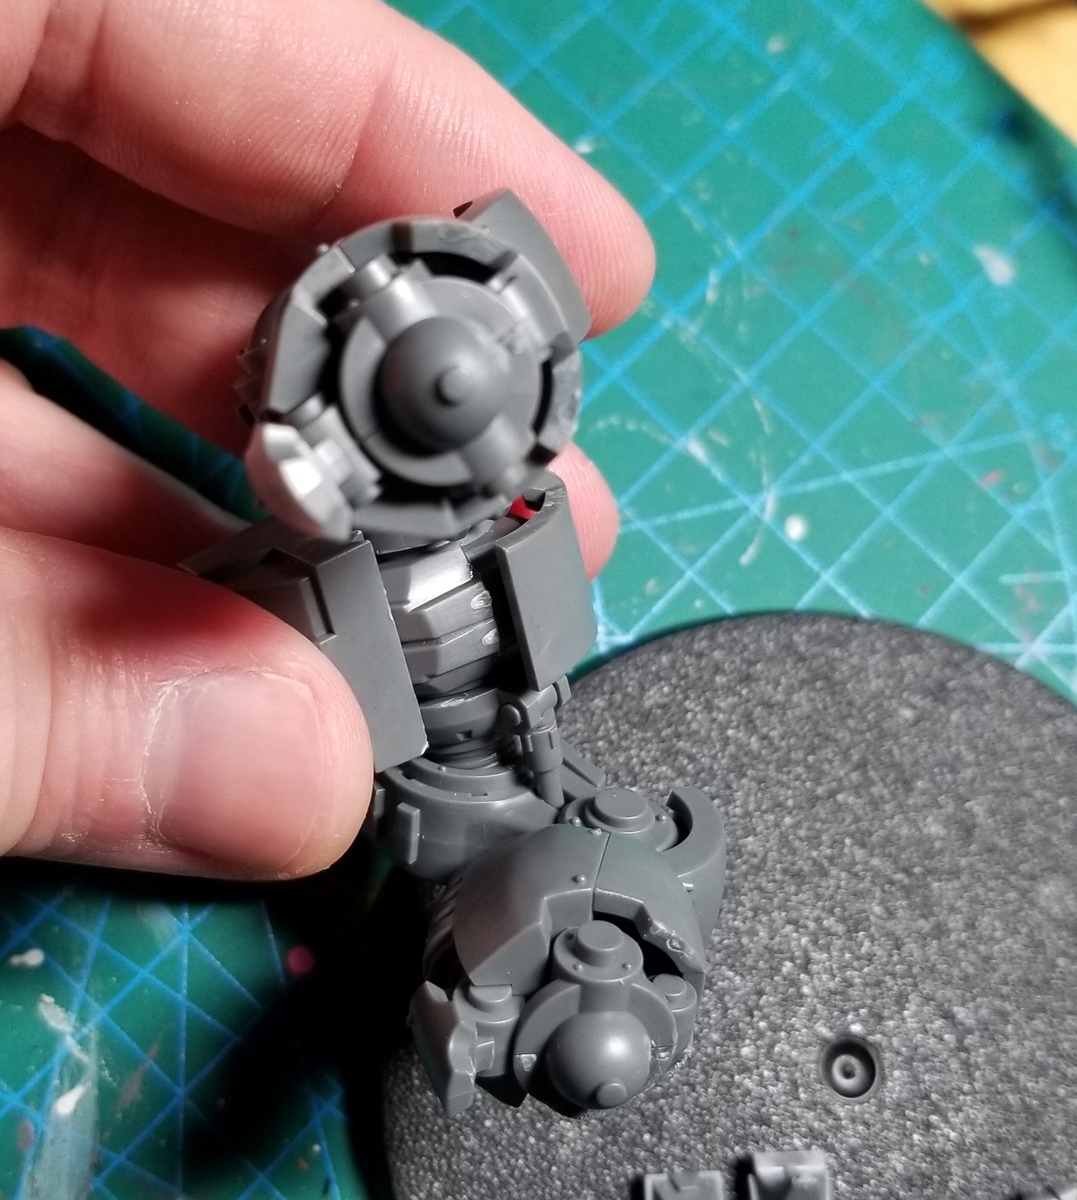
I screwed up and glued the legs into place too soon, resulting in a marked forward cant to the body — and making the fitment of the ankles a bit sloppy. Fortunately this kit is designed to be modified, with molded-in parts you can shave off in order to achieve running poses, etc. (or leave on for a figure that looks a lot like what’s on the box). So I shaved off those nubbins and got a better fit.
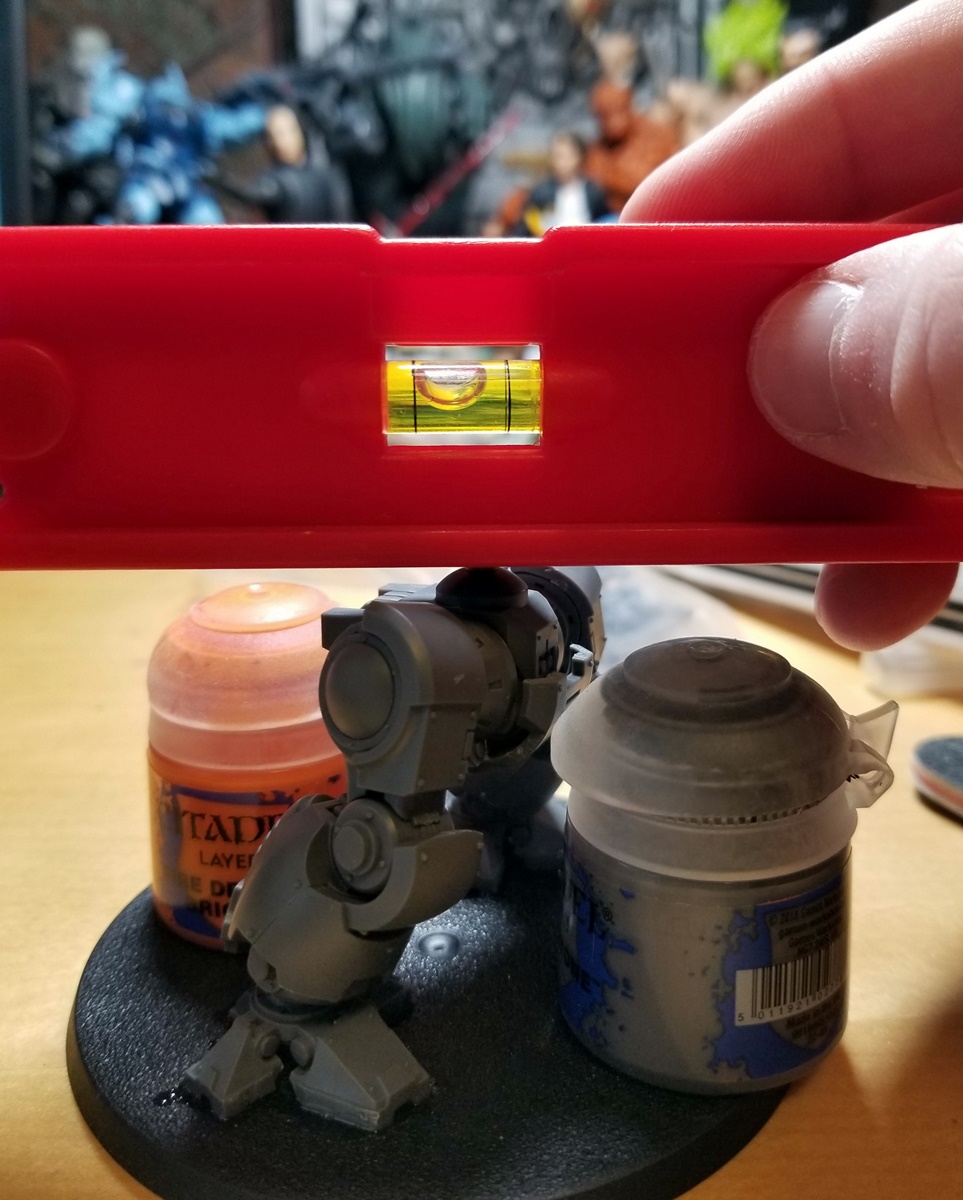
A lot of Feo’s components need to be able to hold a fair amount of weight (by miniature standards, anyway!), so the gluing process took me several days in order to allow for 12-plus hours of curing time for each stage. I’ve learned that with GW minis a fussy build process results in a deeply personalized and cool finished product, and that was true here as well.
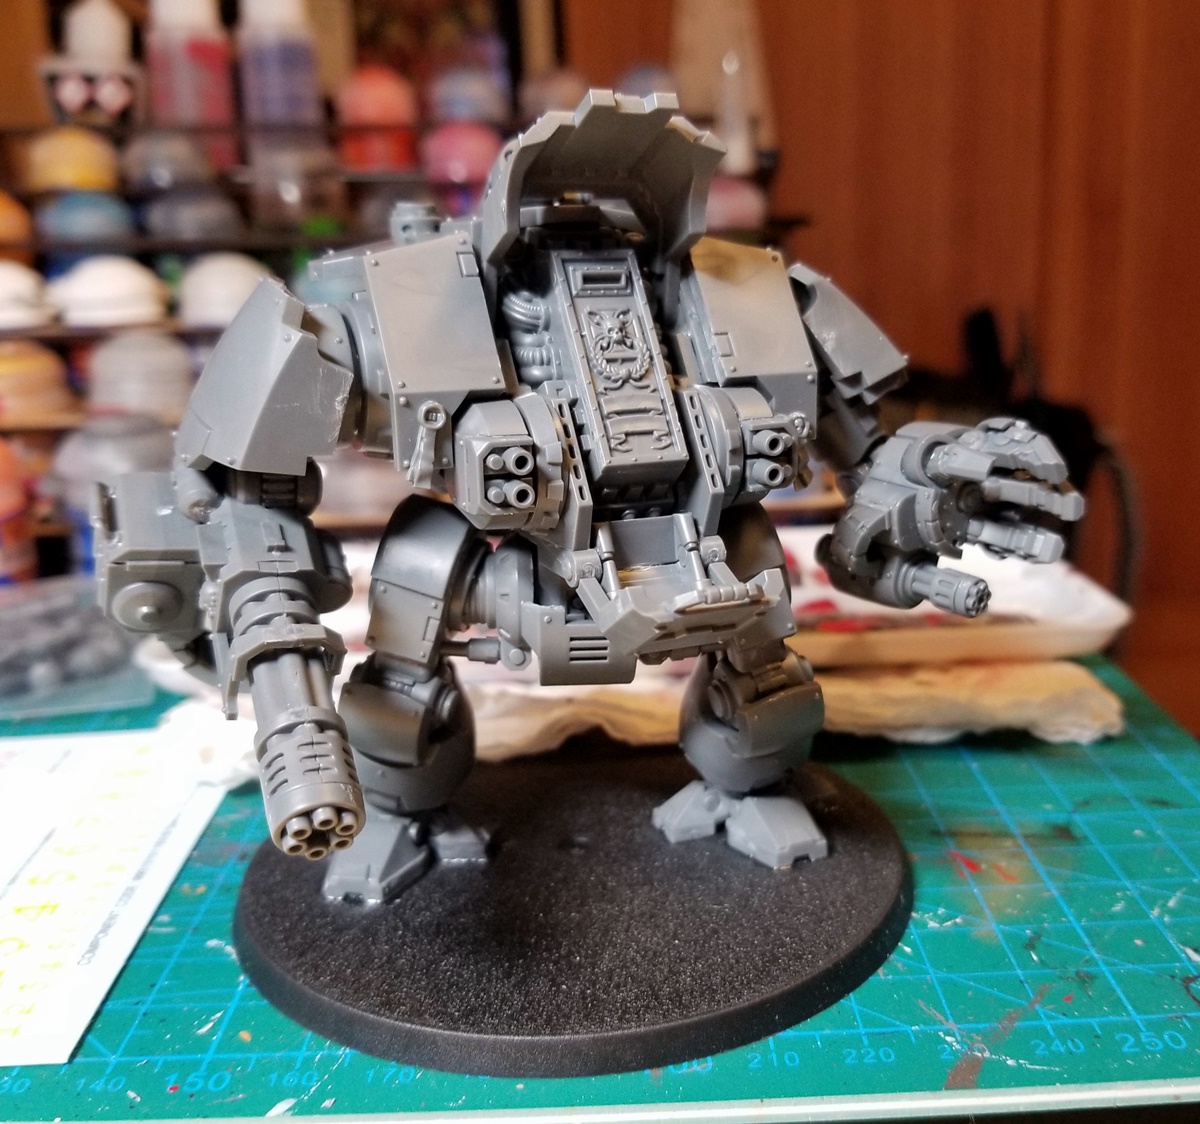
I have two Redemptor kits, and initially I figured I’d make one the plasma guy and one the cannon guy. But those parts swap nicely, so I decided to make one Dread — Feo — with his sarcophagus exposed, in a pose that looks like he’s venting heat or taking a breather mid-battle, cannon low and at rest, and the other in a buttoned-up, aggressive posture with his sarcophagus covered and all weapons at the ready. I love the look of this kit with the “jaws” of front plating open; so many cool details are exposed that way.
Who opens their outer layer of armor mid-battle, leaving “only” the Ceramite of the sarcophagus itself to protect them? A fearless Space Marine — perhaps even a reckless one…like a Marine who pushed his limits too far and took a mortal wound, landing him inside a Dreadnought. (Feo was initially named Impavido, Italian for “fearless,” but it was too long to possibly fit on the tiny scrolls on his sarcophagus.)
I’ve picked out the scenery for his base (a half-buried dead Ultramarine and an overrun Guard post) and clipped his Macro Plasma Incinerator, so the next steps are all lined up. But before I really tuck into Feo, though, I need to finish painting my last three squads.